


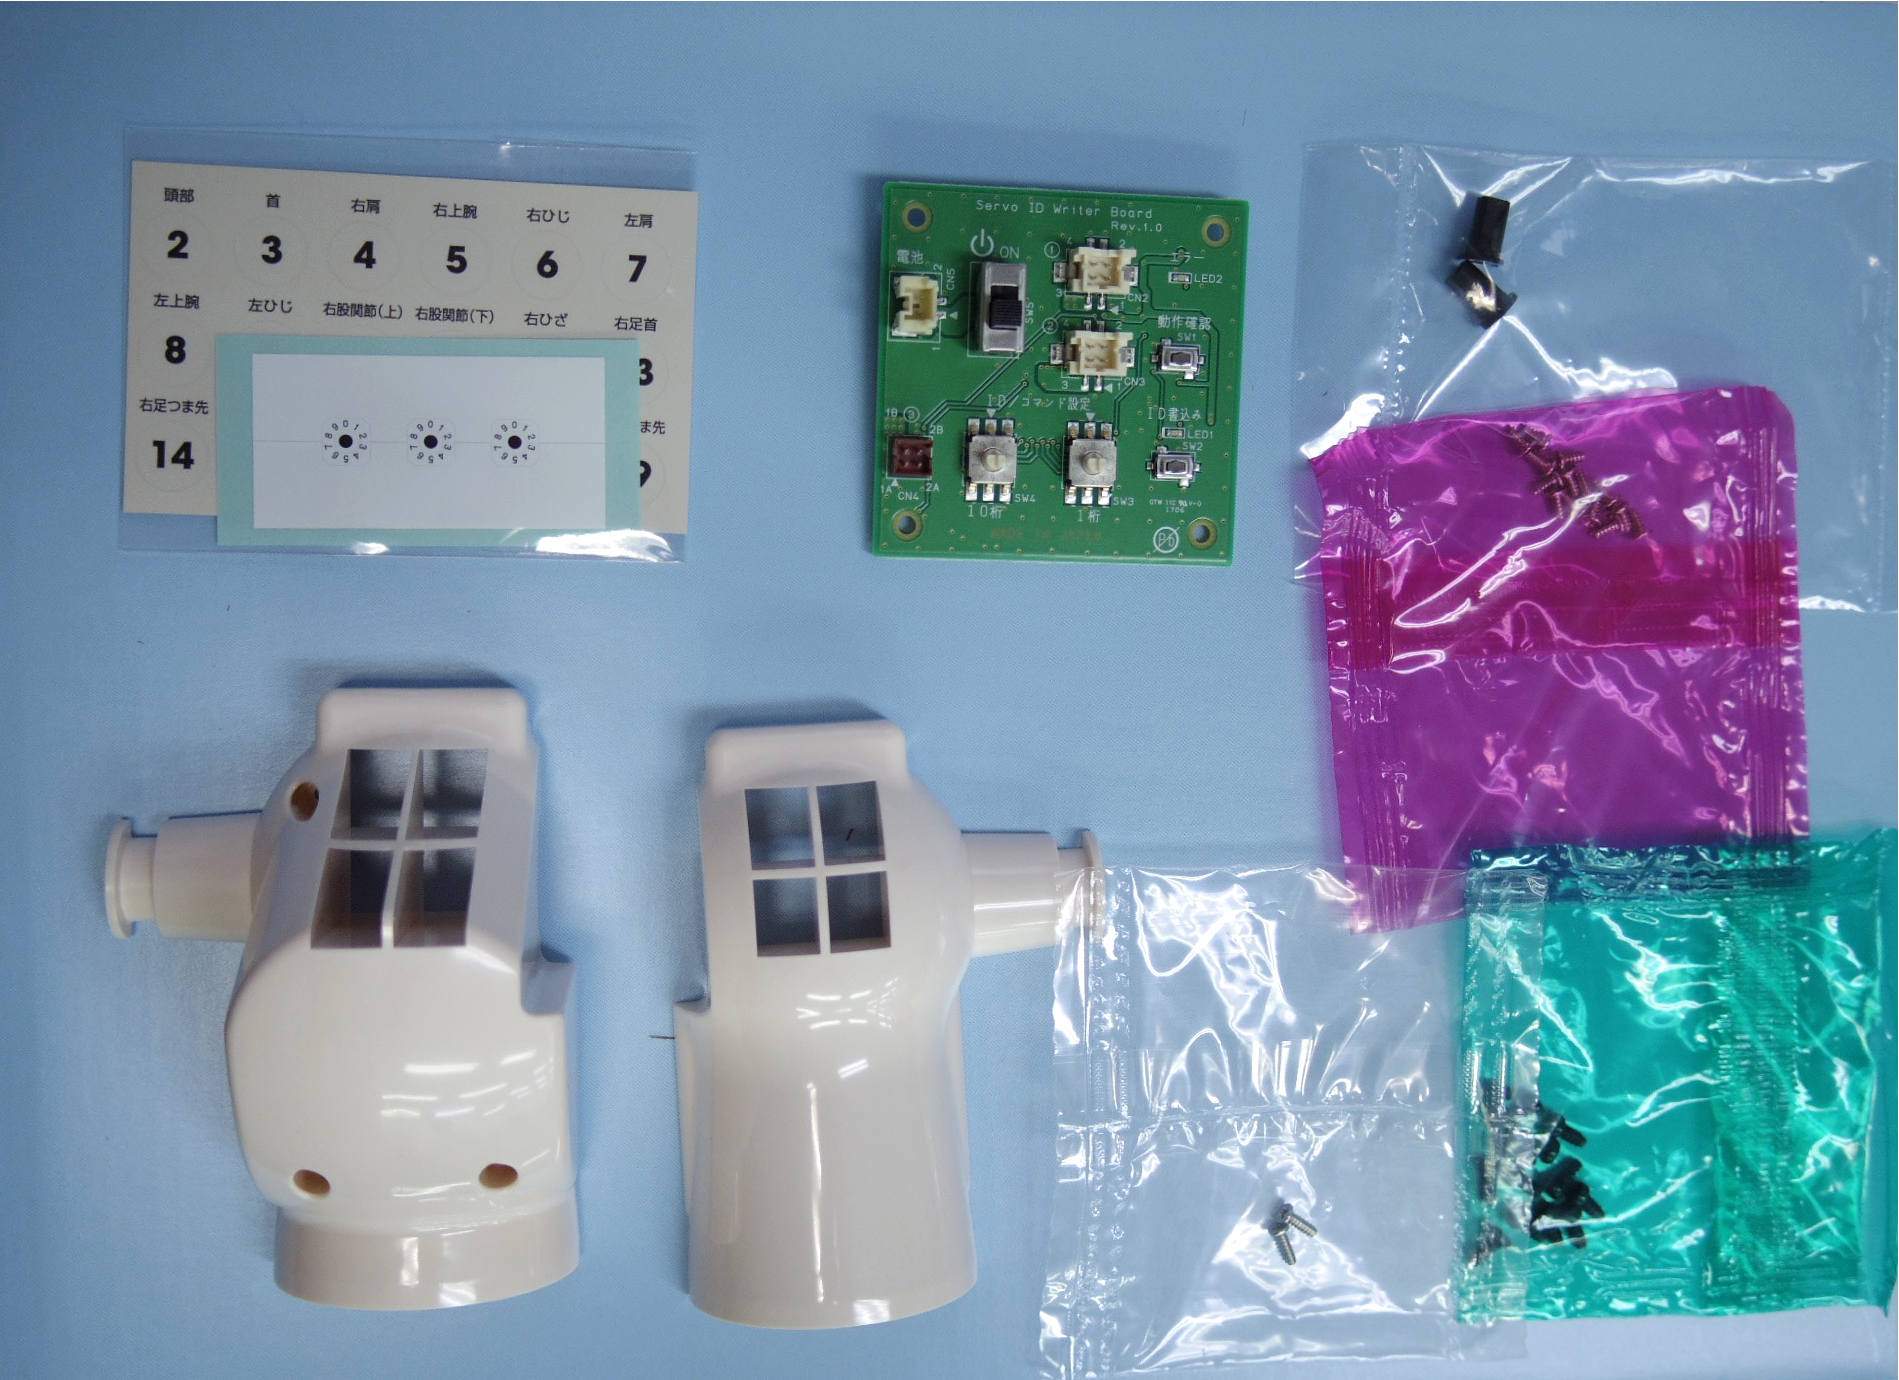
今号のパーツ
サーボモーター用テスト基板
首(前)
首(後)
スイッチ用ノブ
スイッチ用シール
サーボモーター用IDシール
2×4mmビス×14
2×6mmビス×2
2.6×6mmビス(黒)×13
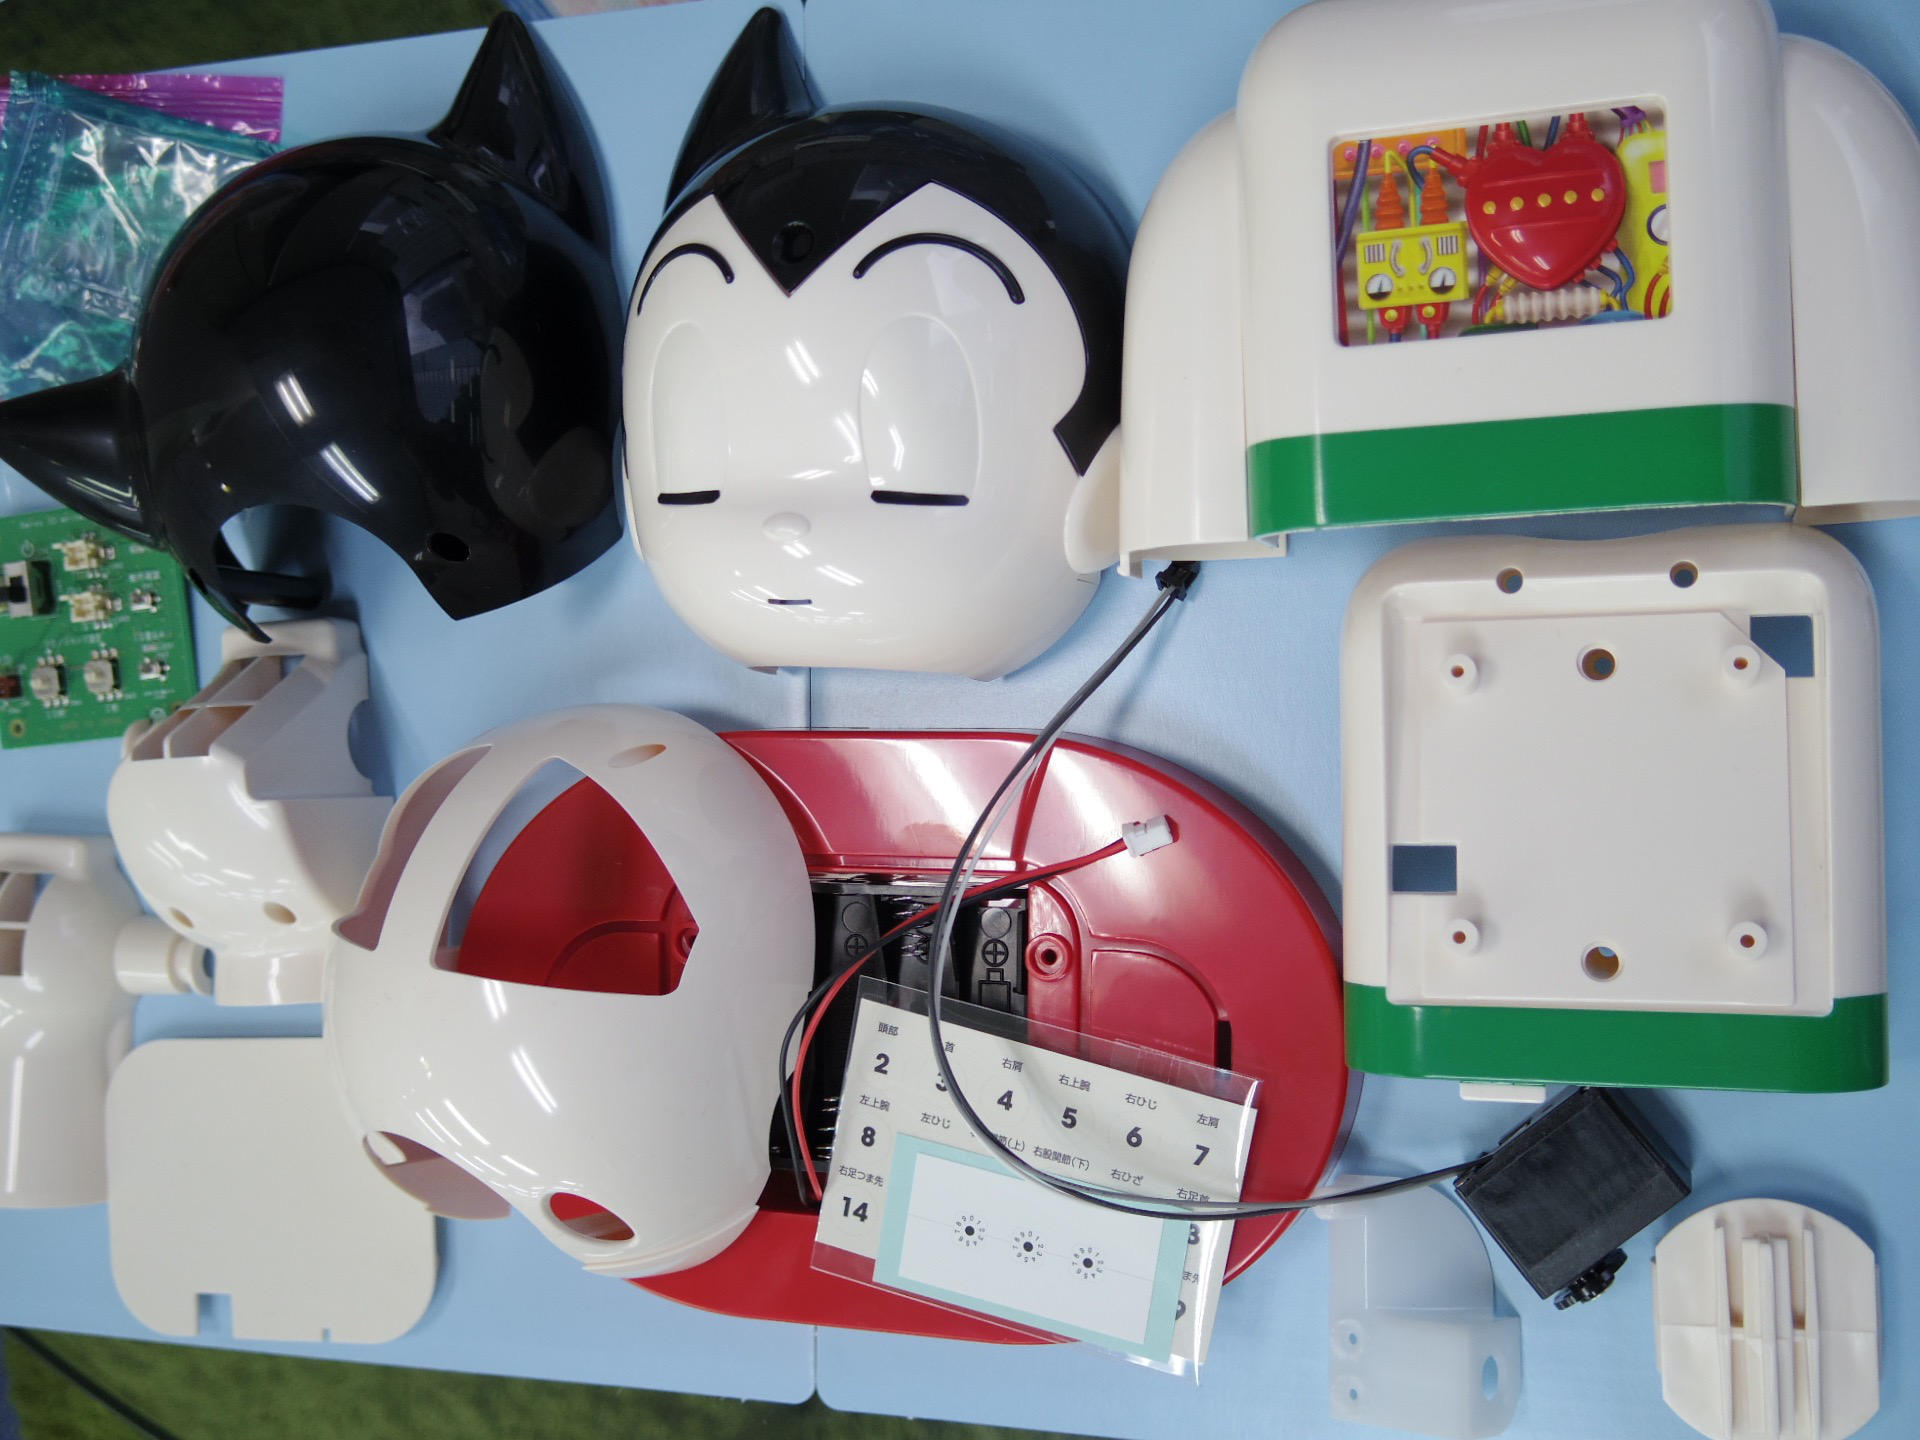
今までの全パーツ大集合!
今号の作業
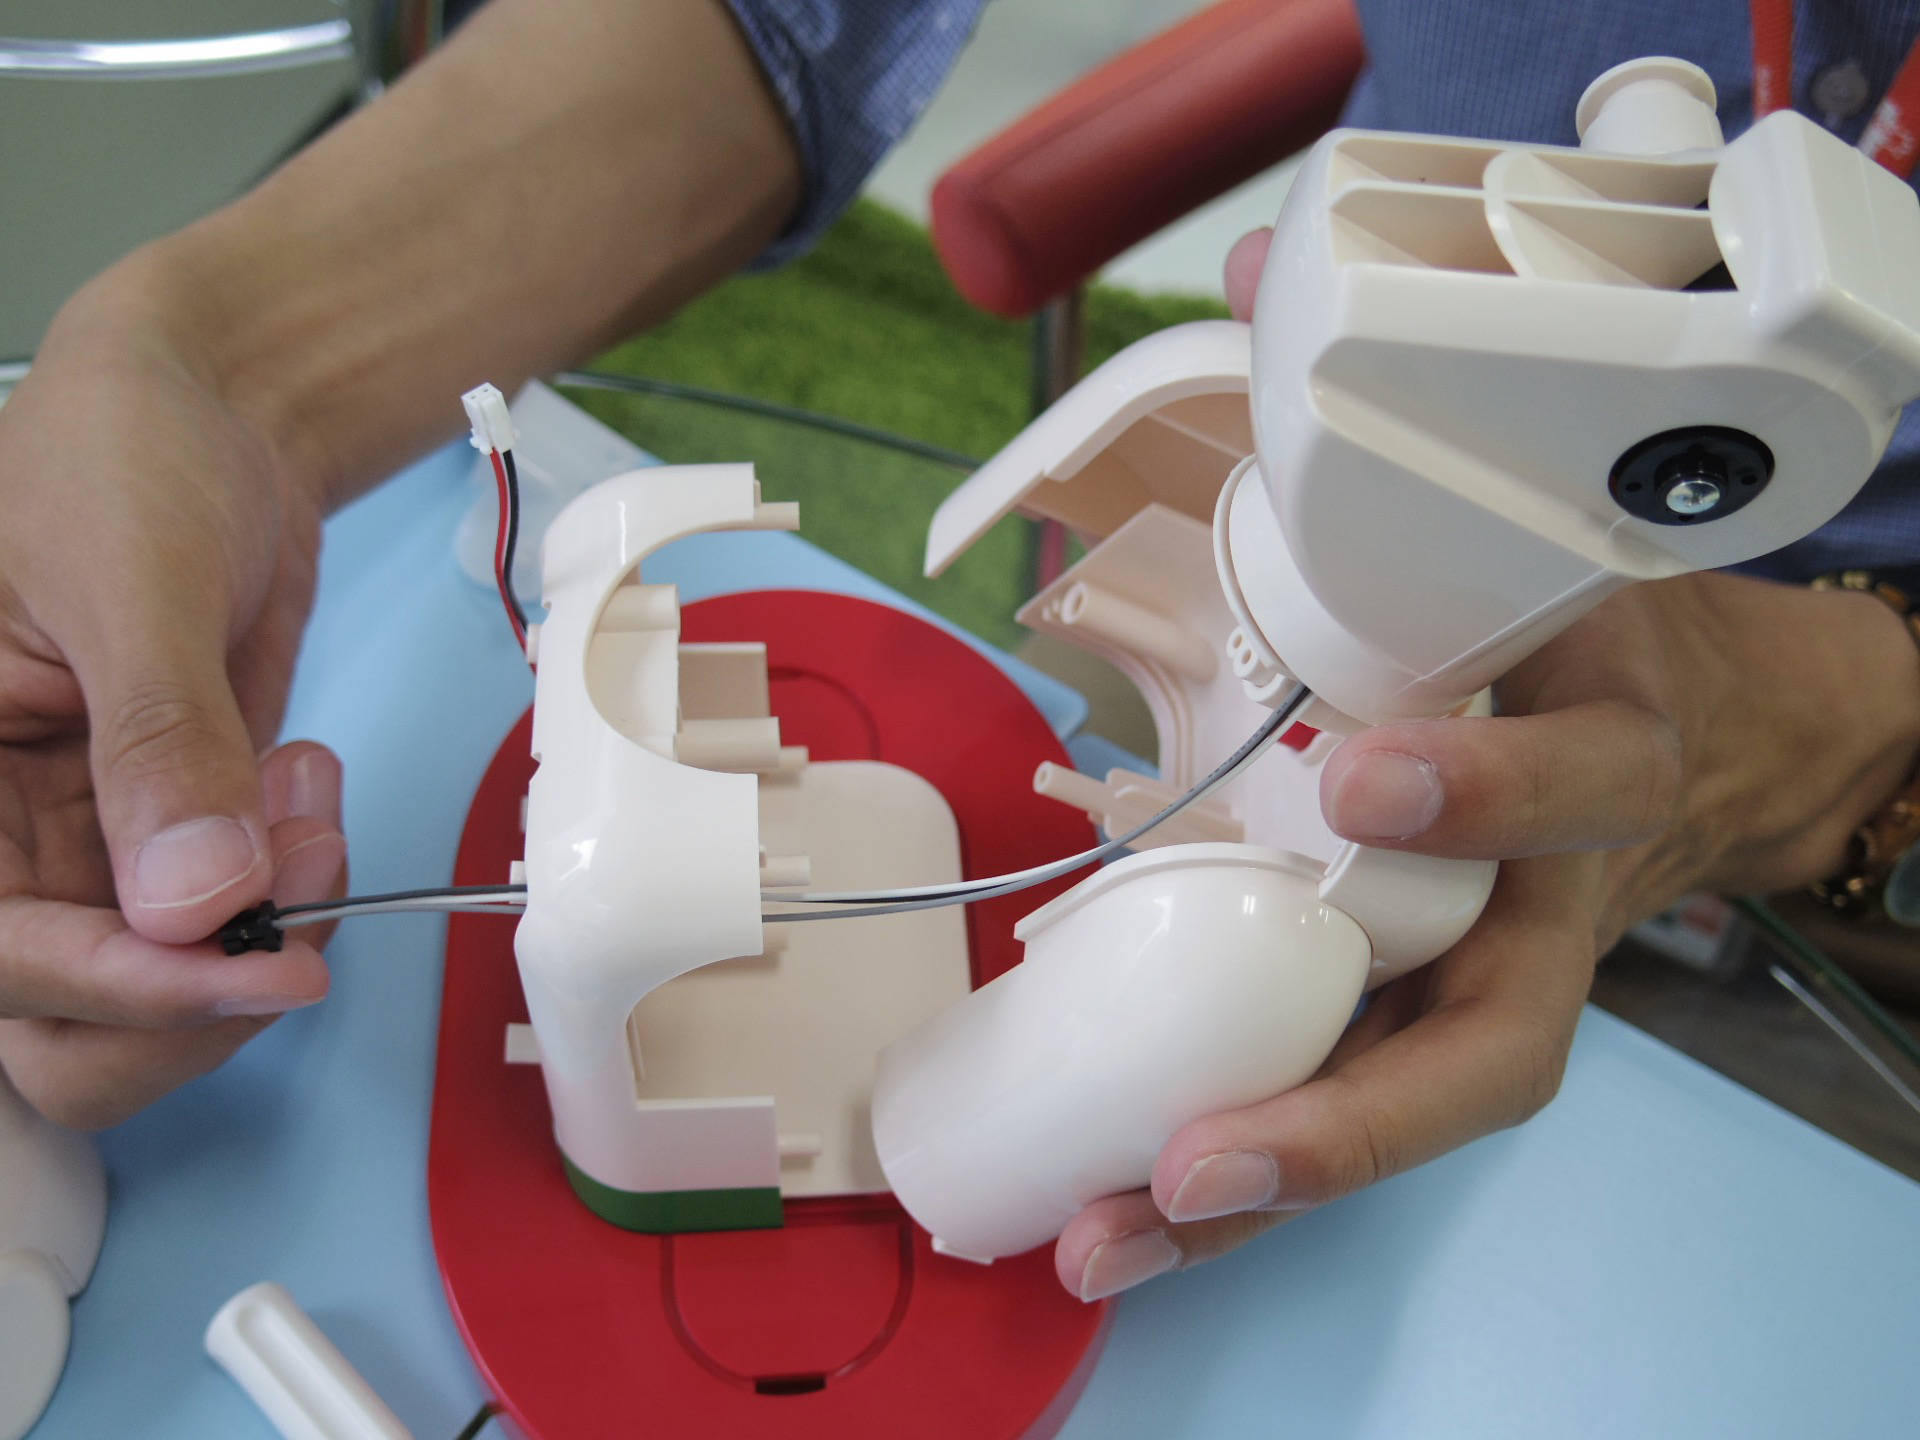
首を組み立てる
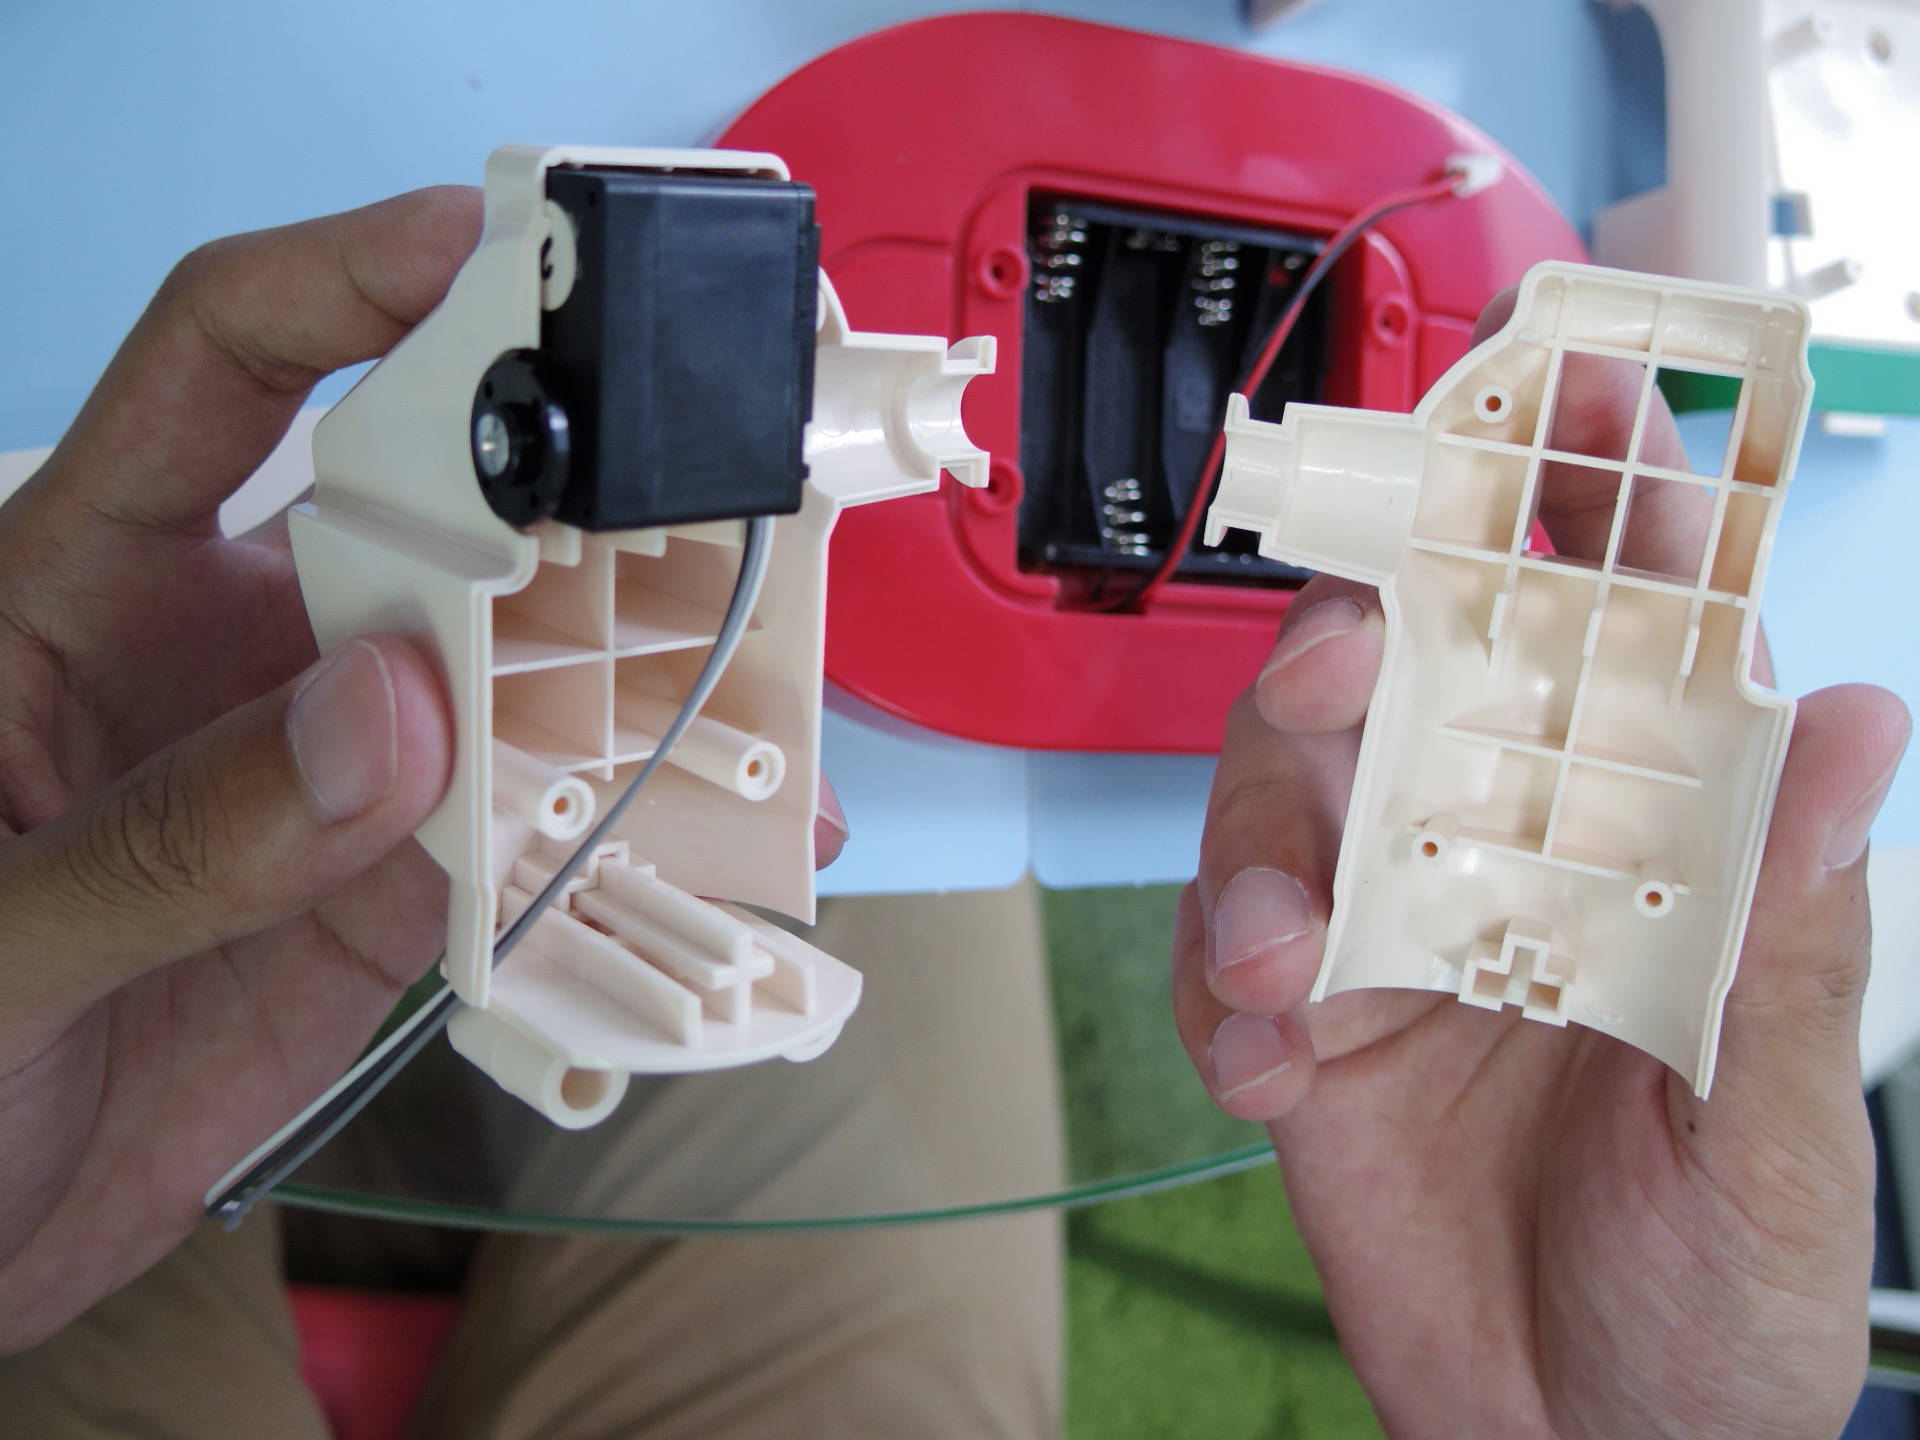
モーターを埋め込みます。
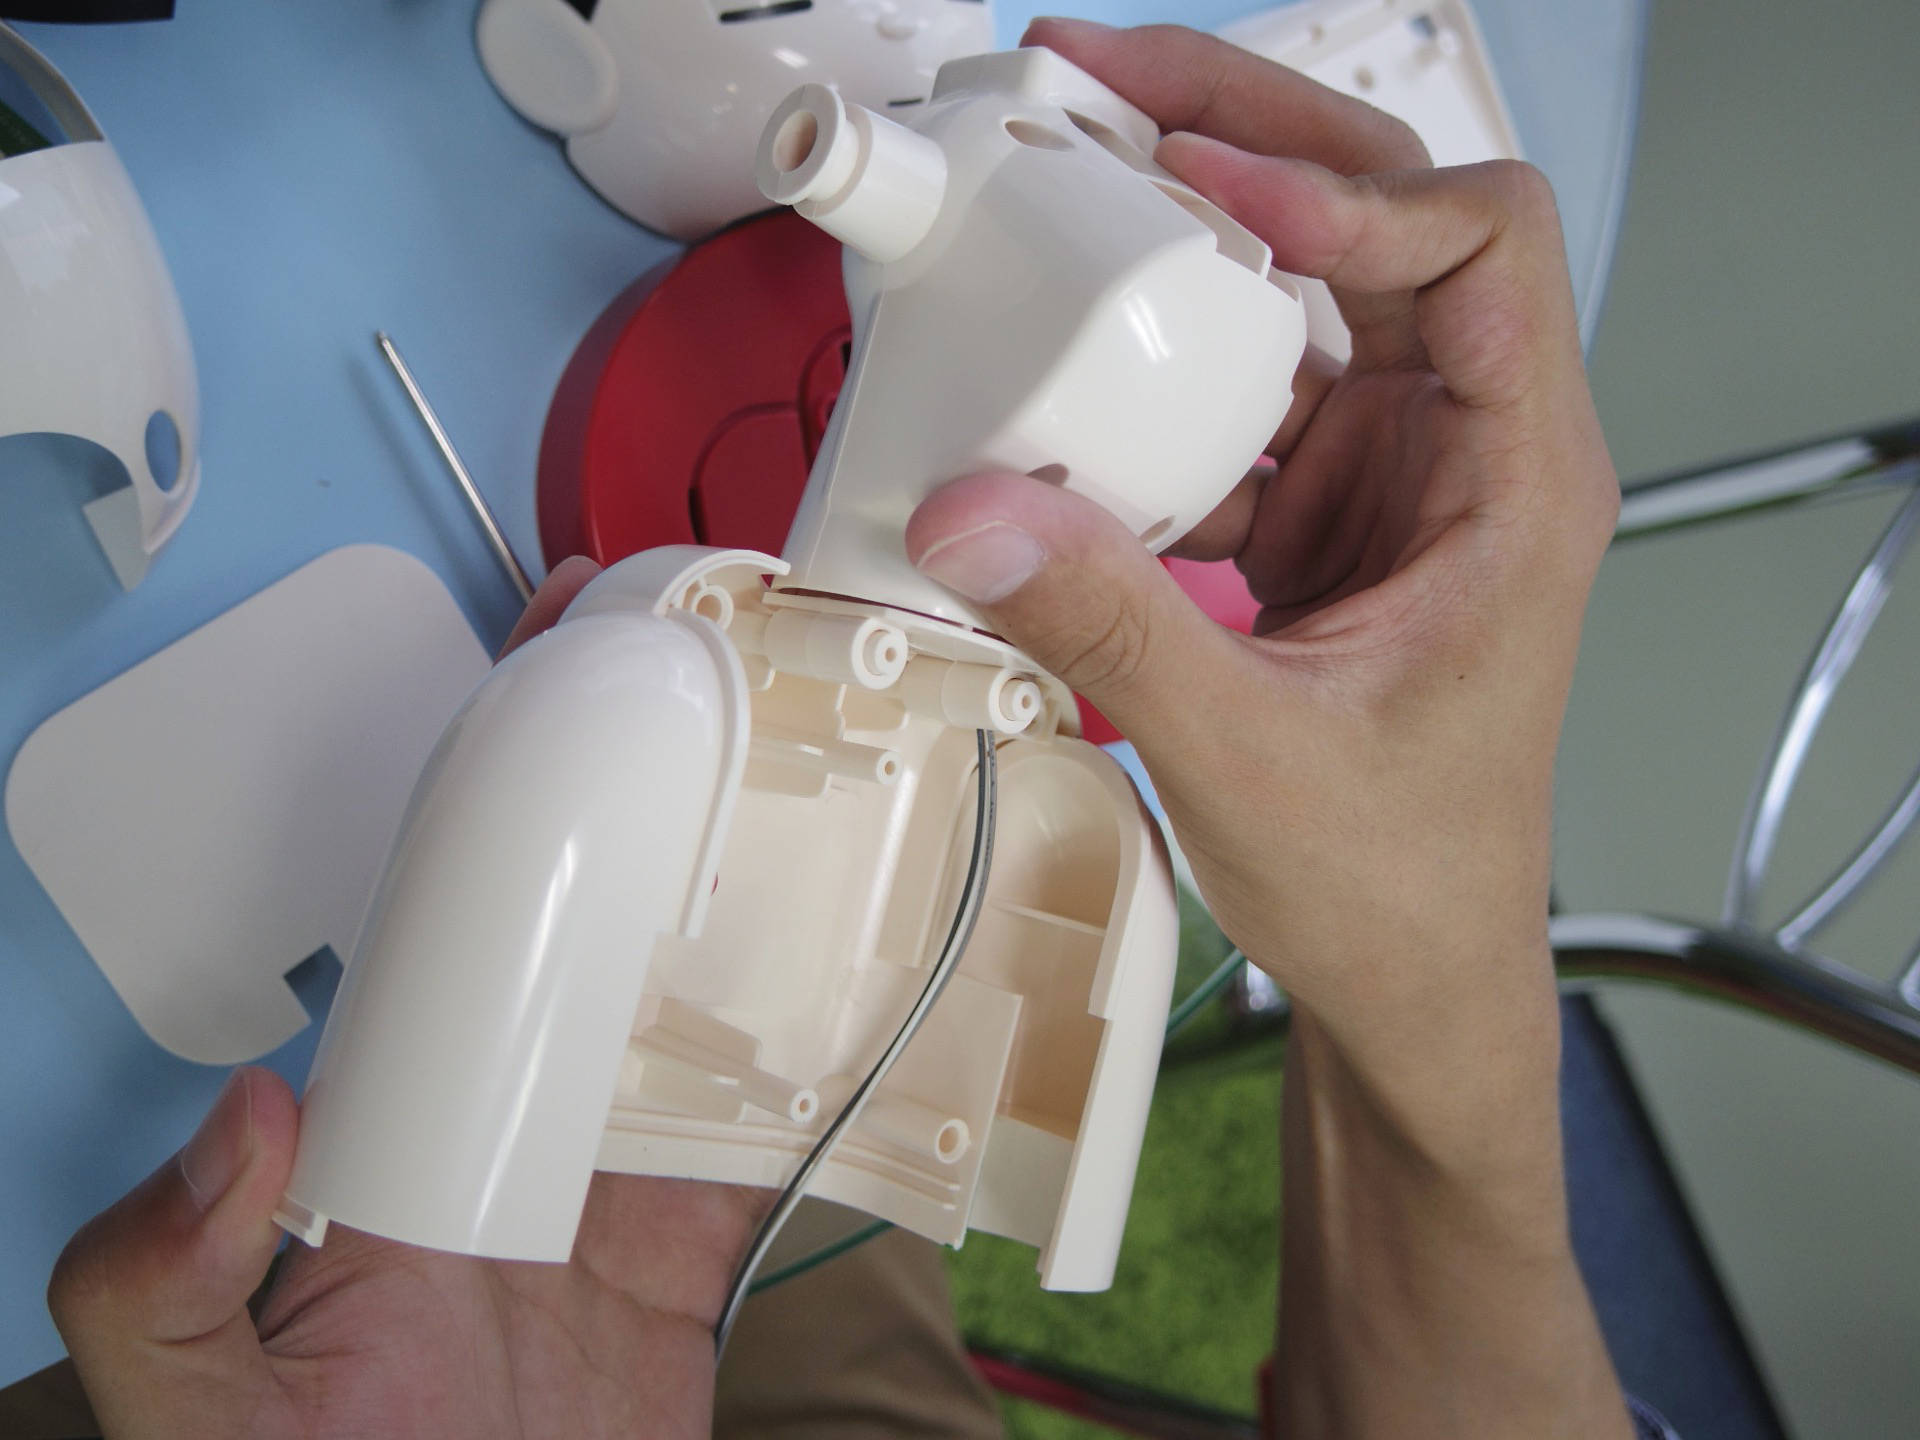
首をチェックスタンドの胴体に取り付ける
胴体と台座を組み立てる
ちょっと力を入れてはめ込む必要がありました。
(プラスチックが割れないかビクビクしながら)
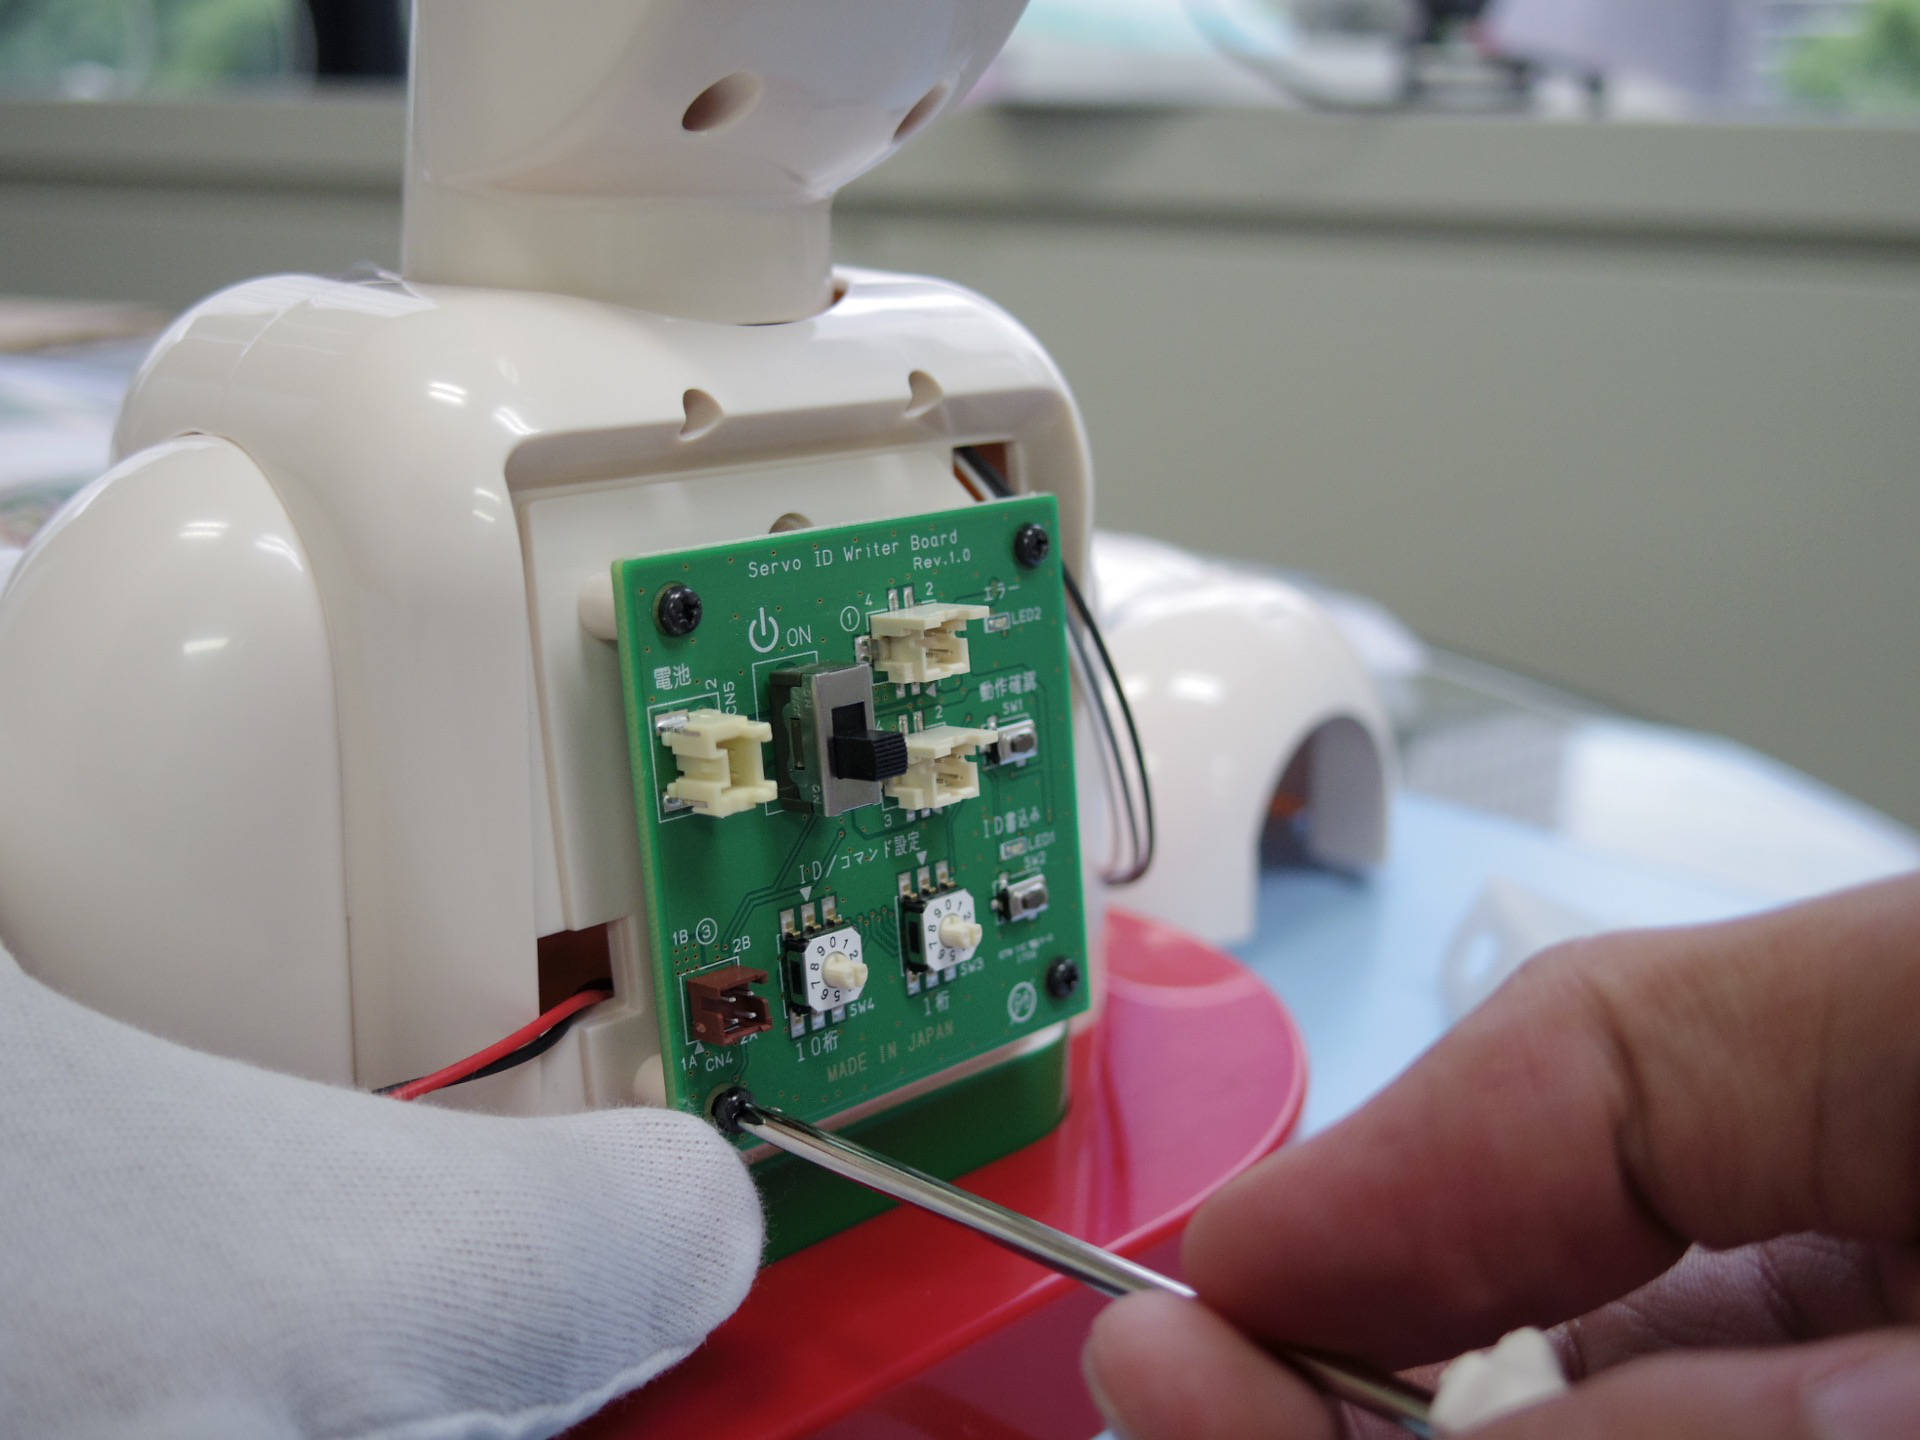
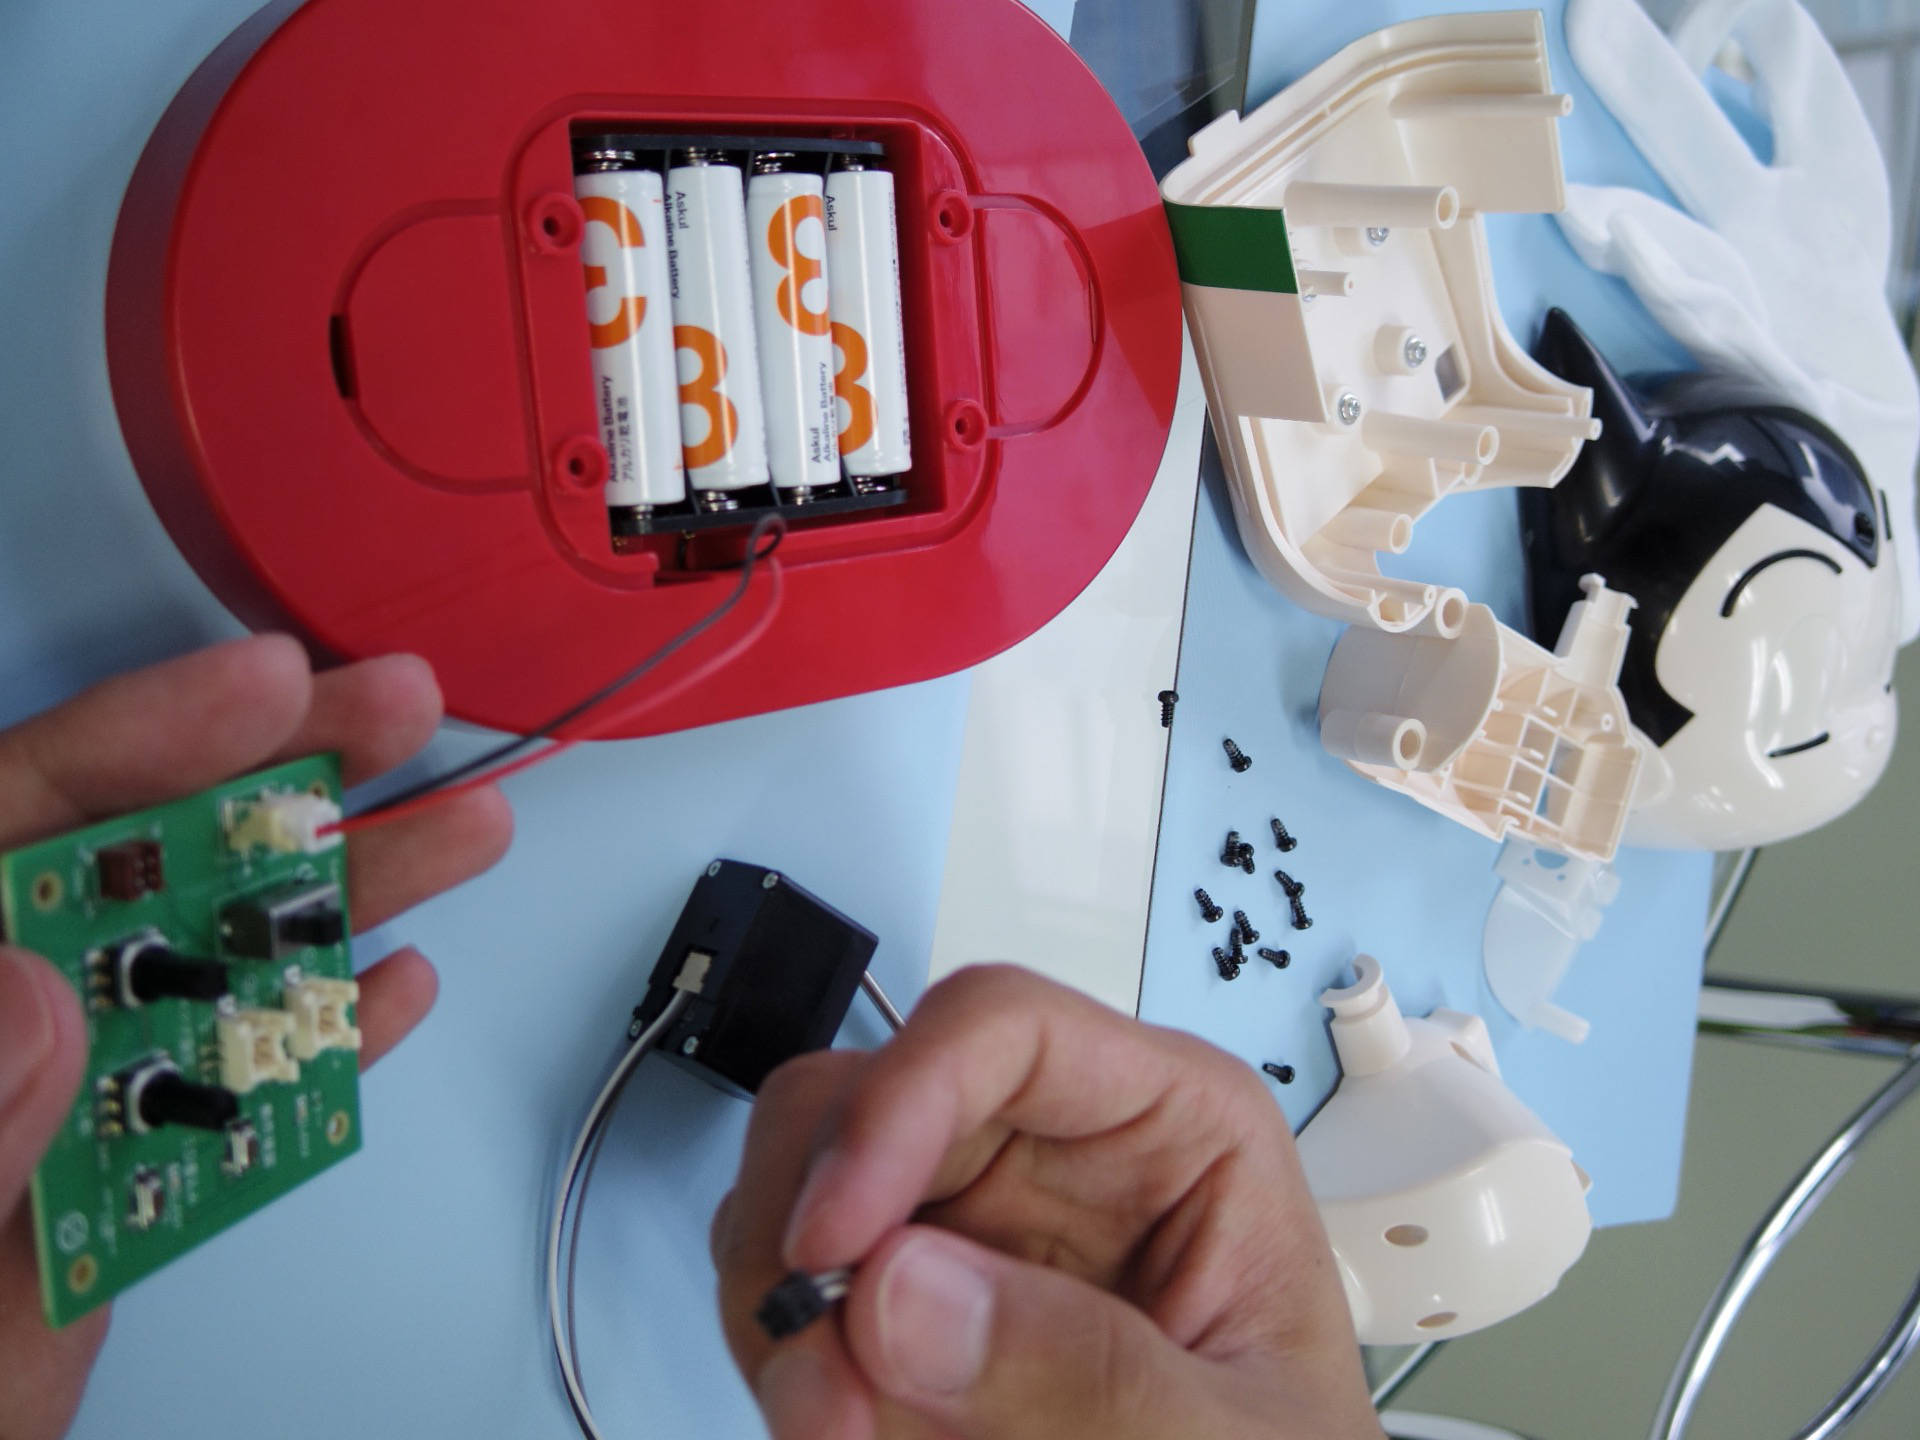
テスト基板を取り付ける
静電気や汗などから基板を守る為に手袋を使います。
やっと2号付属の手袋を使える日がきました。
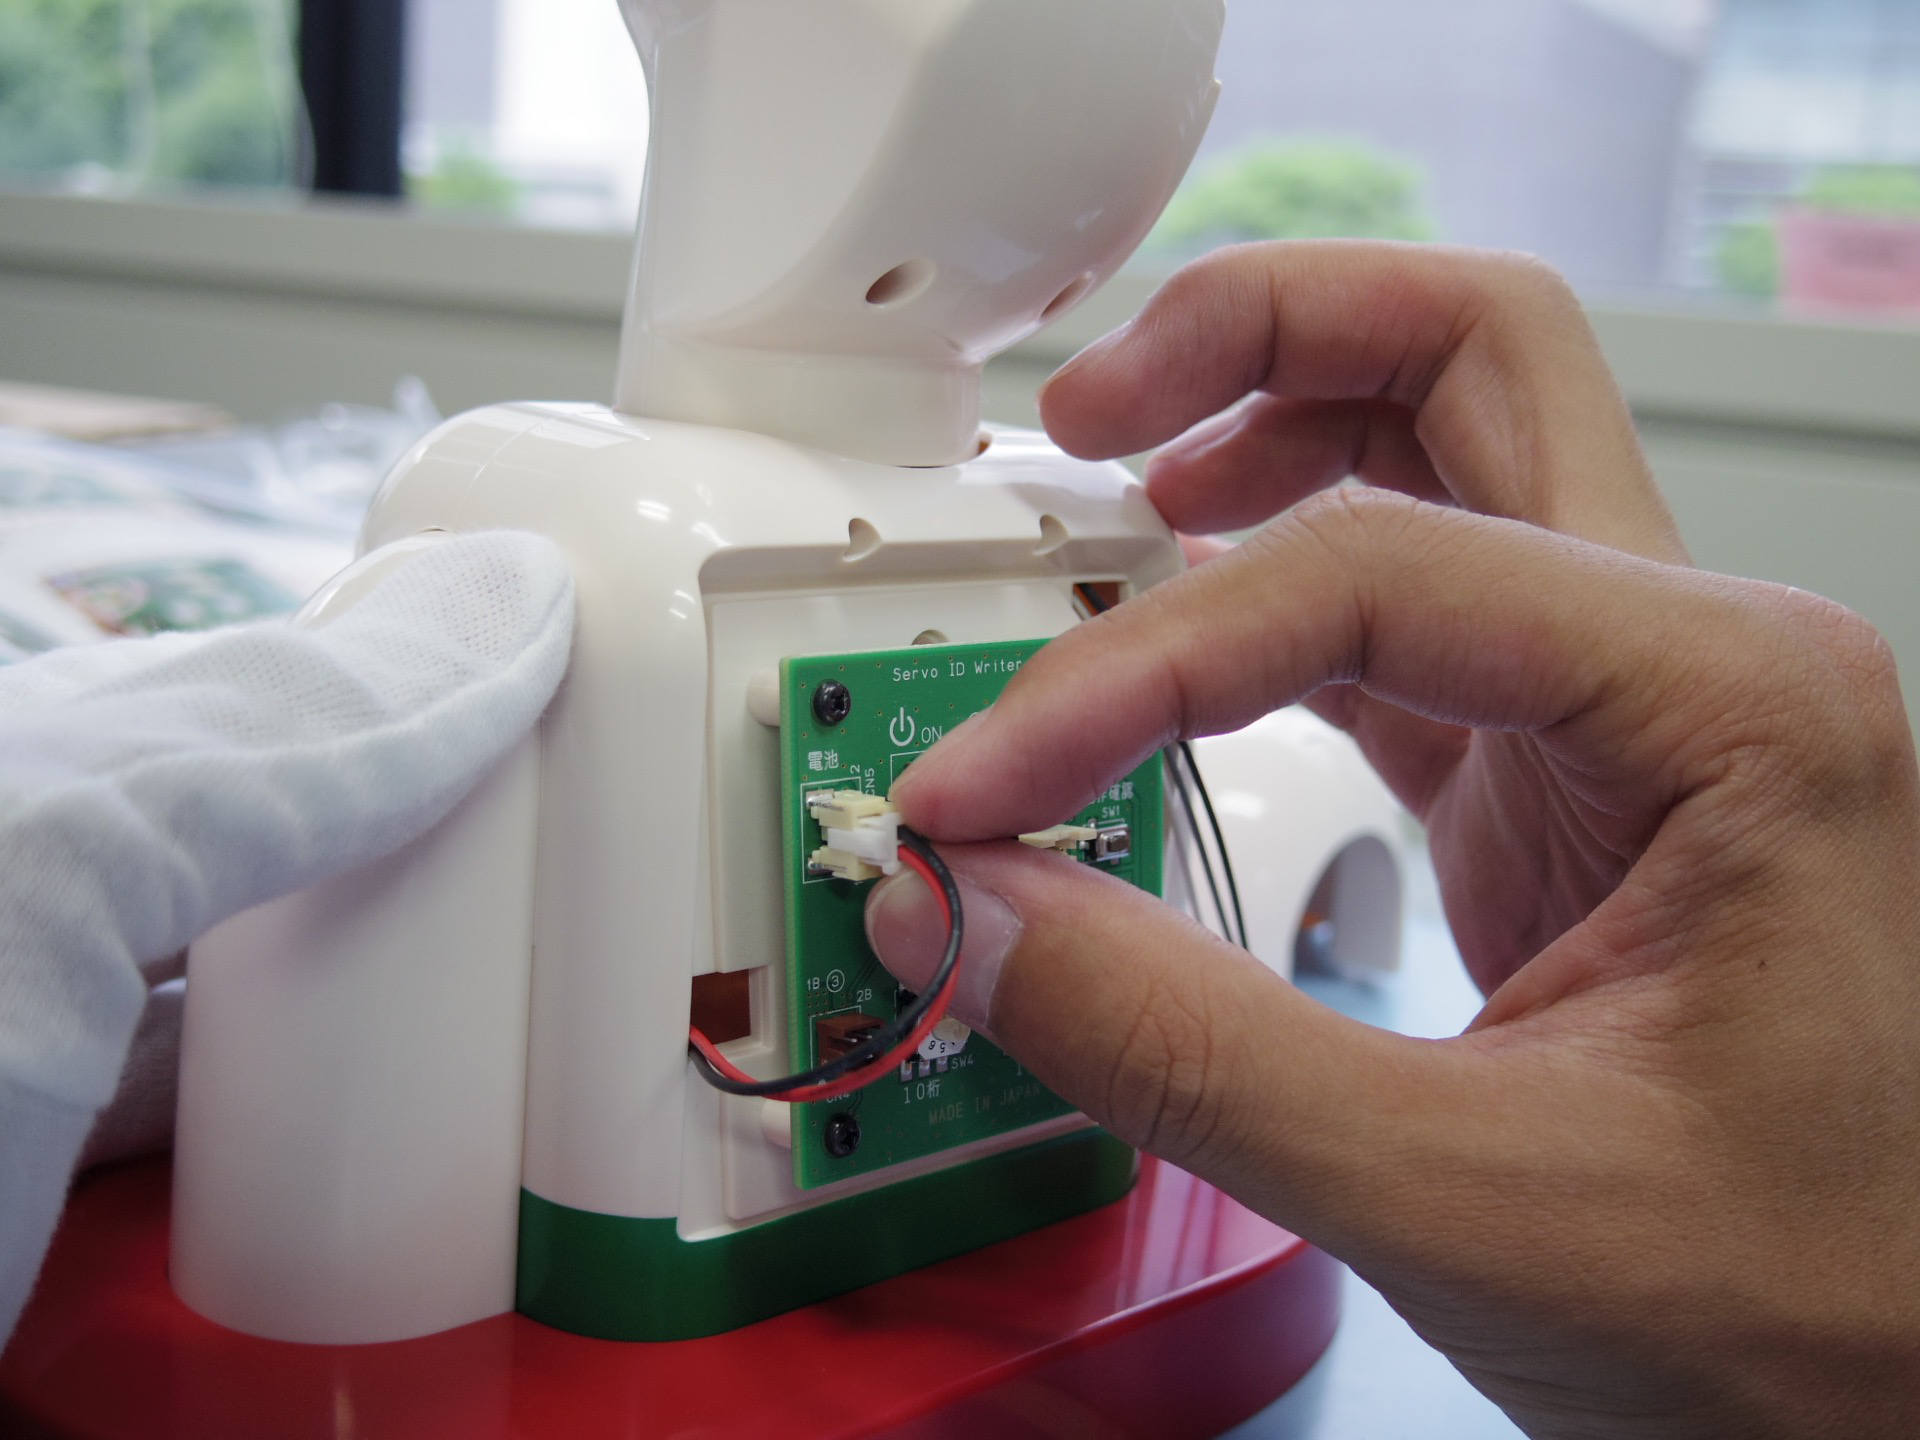
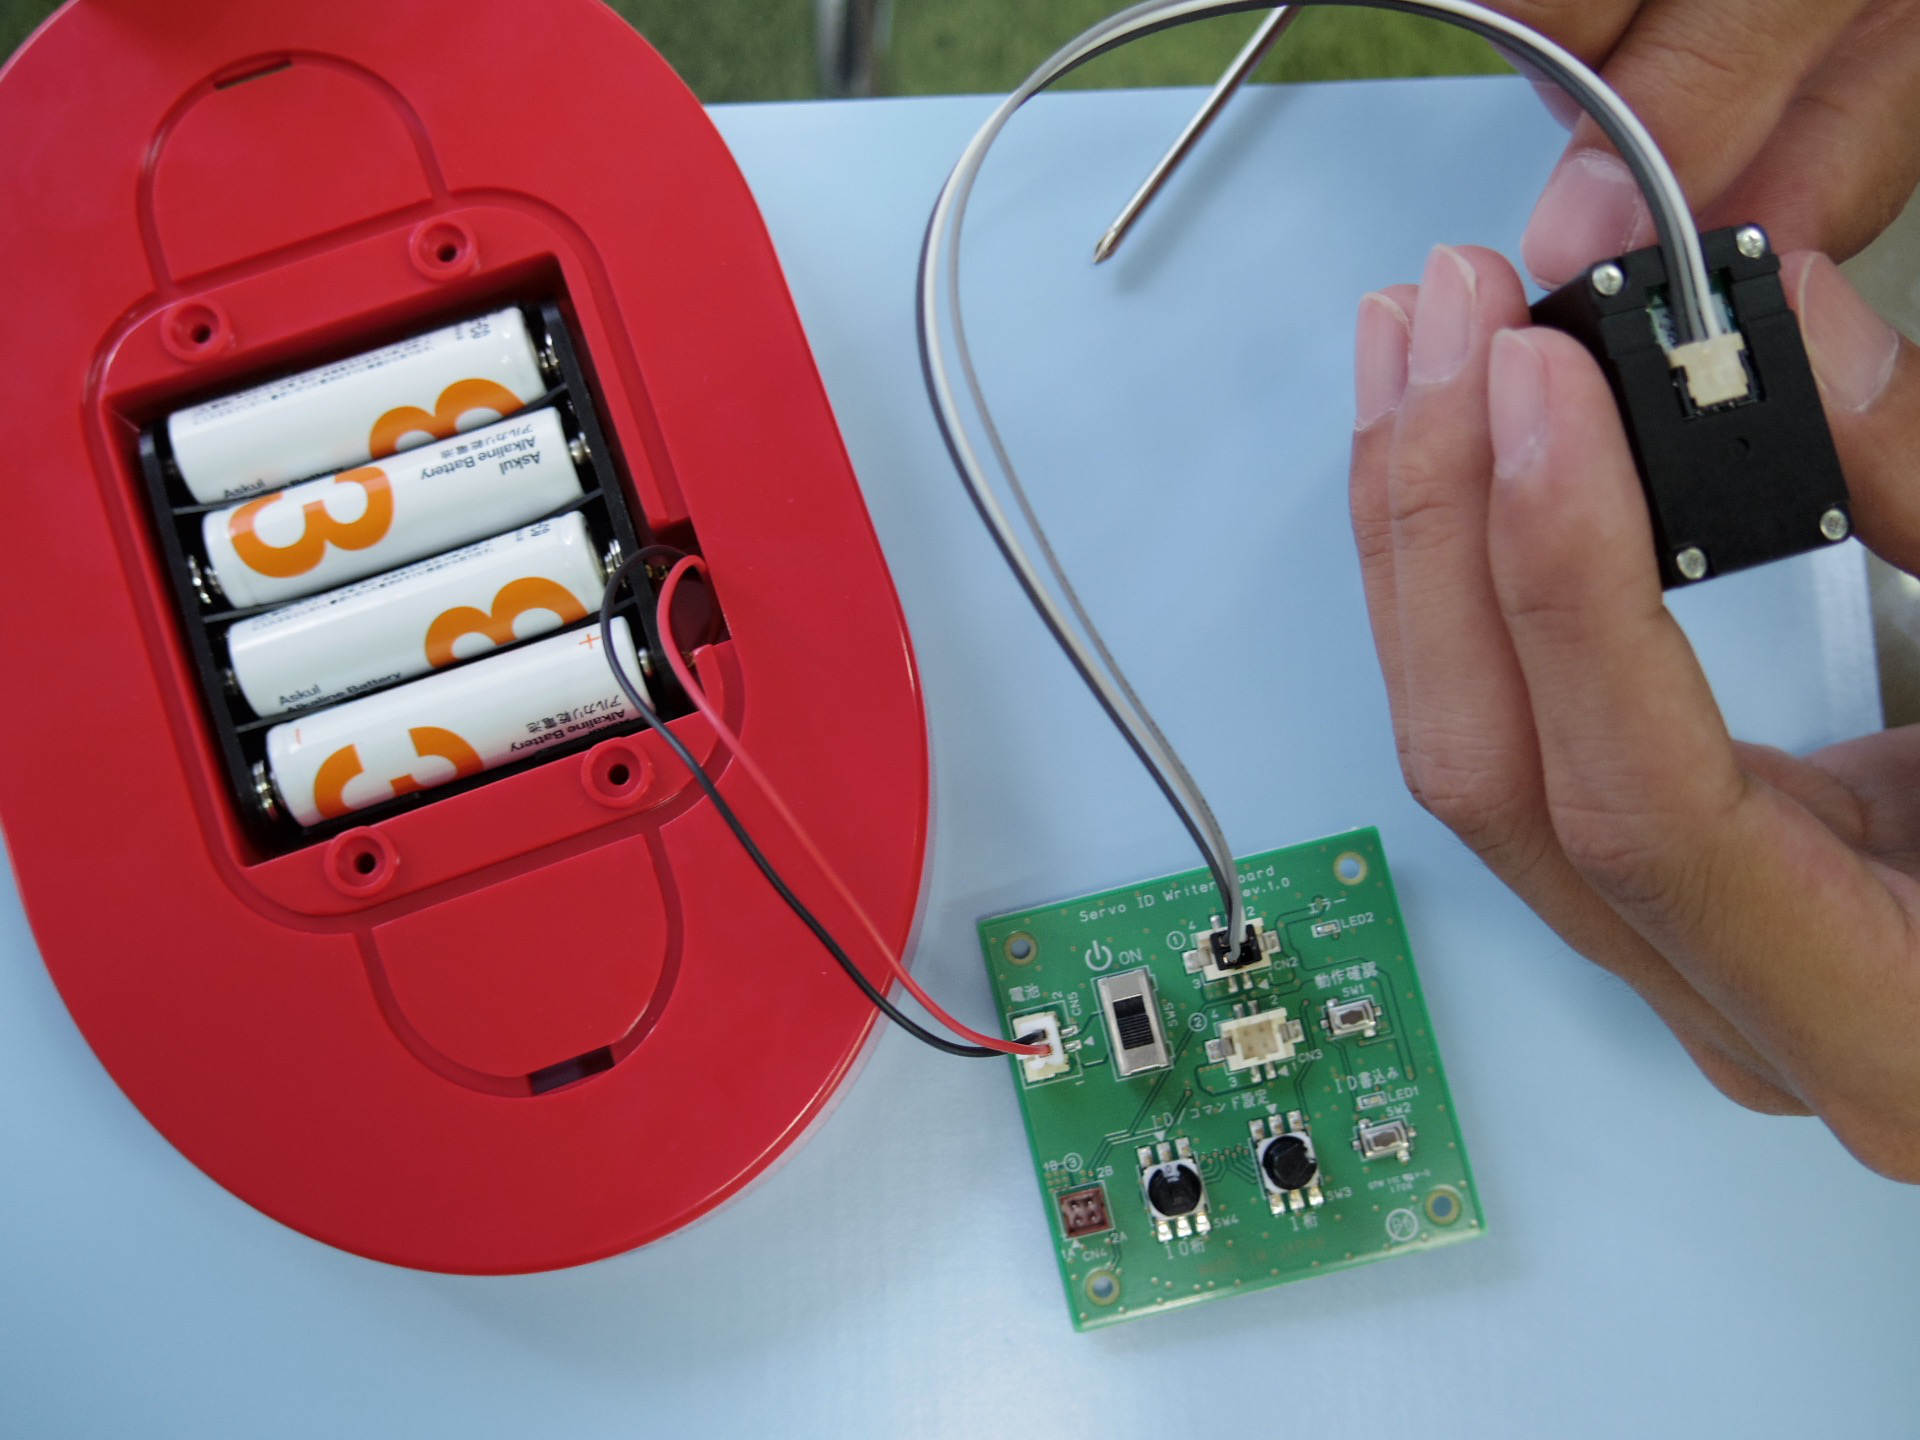
テスト基板に電源ケーブルを差し込む
サーボモーターにIDを書き込む
基板の”ロータリースイッチ”を回して書き込みたいIDをセットし「ID書き込み」ボタンを押すことで書き込めるようです。
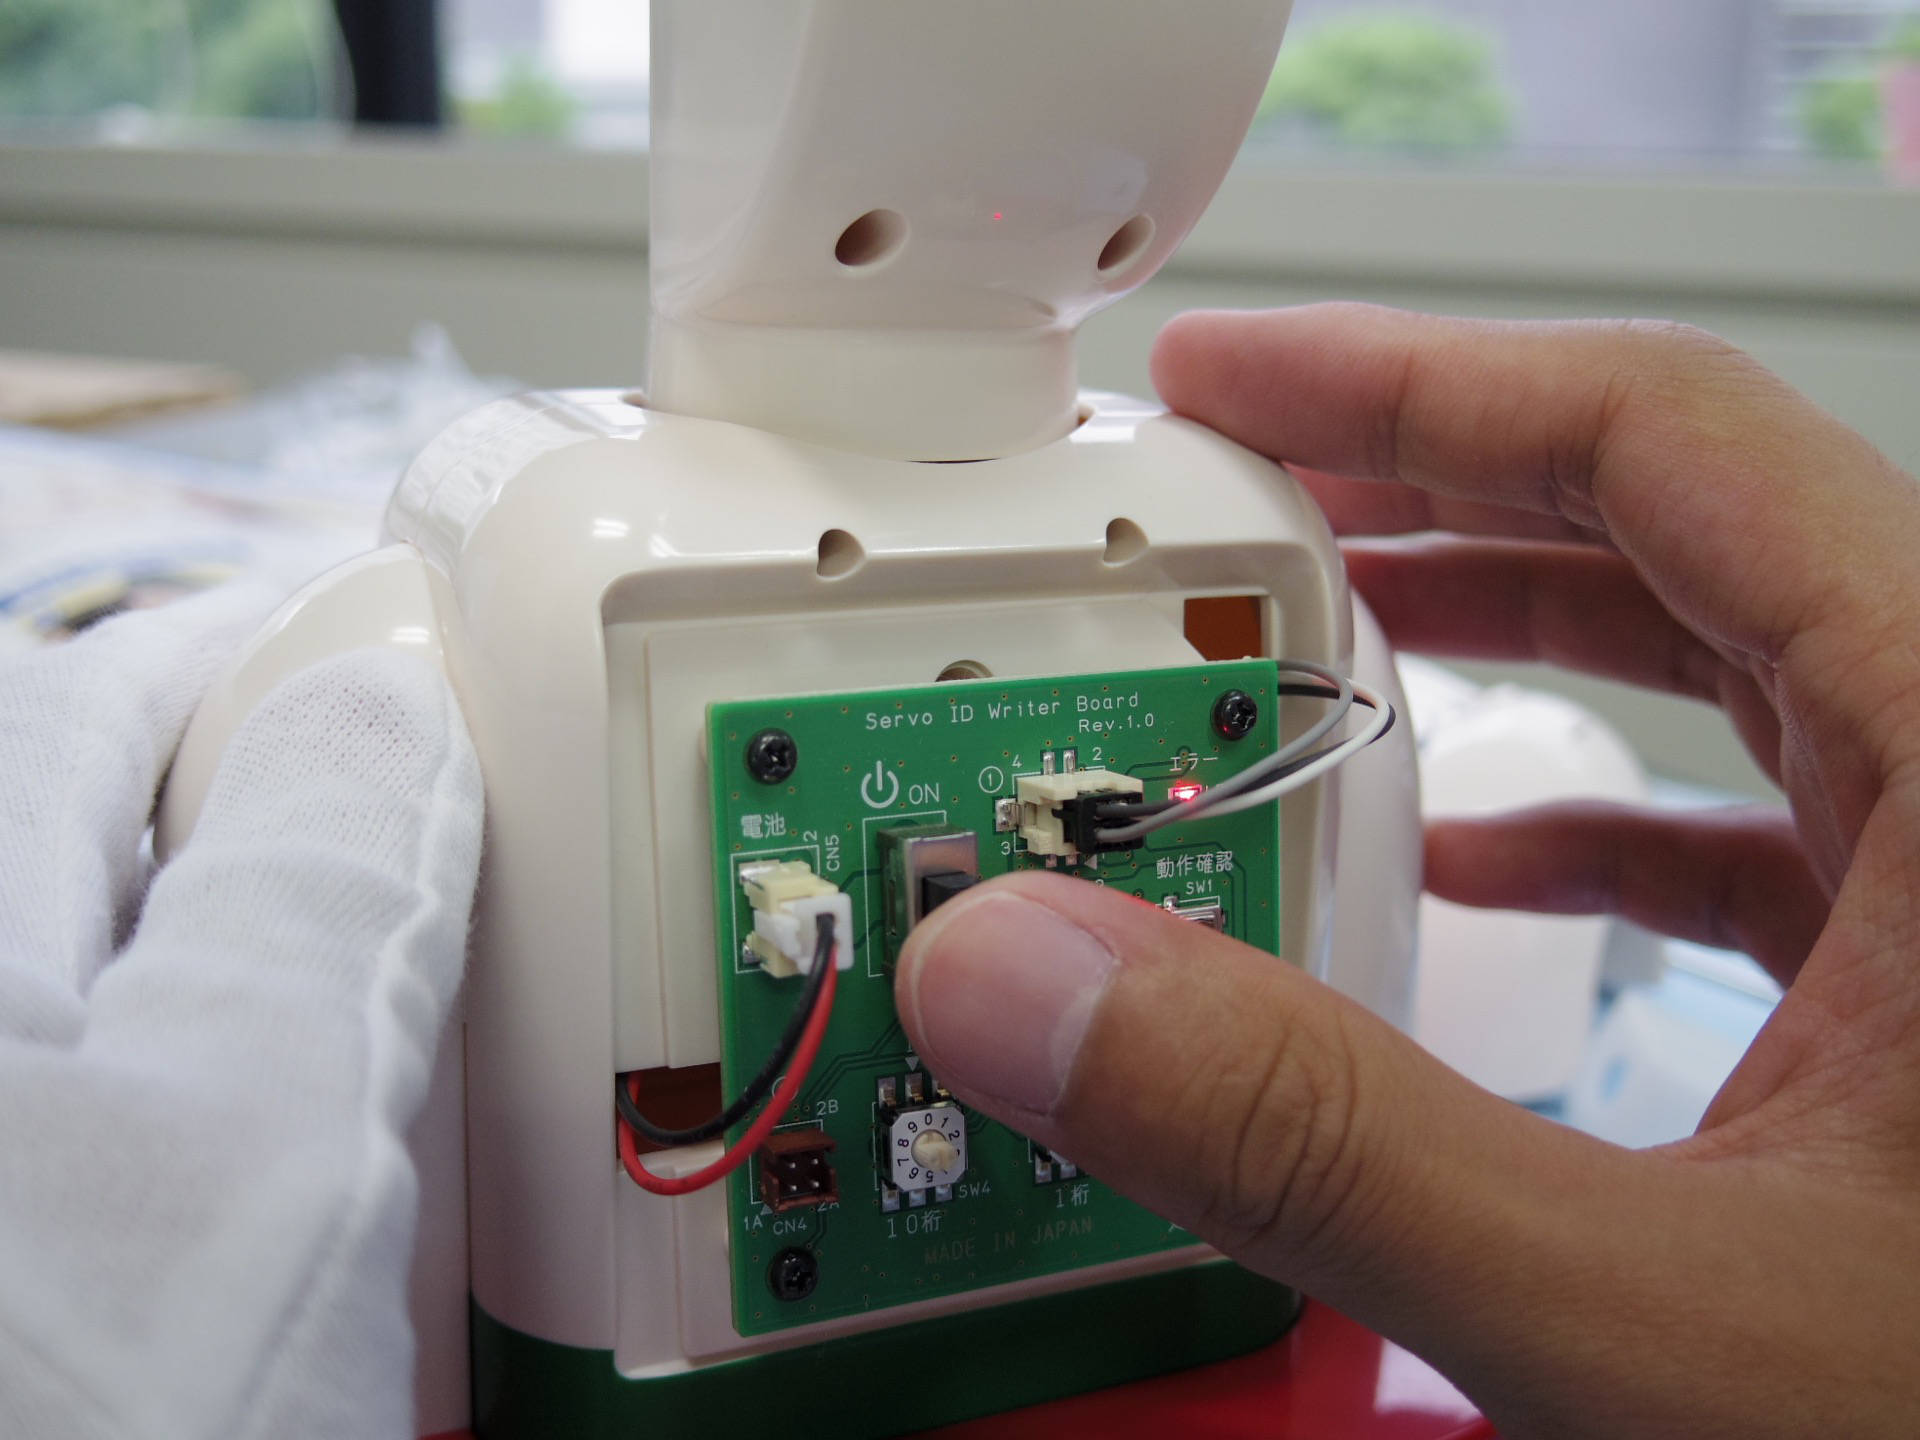
・・・書き込めない!?
エラーを示す赤色ランプが点滅しています
本紙の説明に従ってIDの初期化をしてみてもエラー。。
動作チェックをしてもエラー。。。
残りの考えられる原因は
・新品のアルカリ乾電池が、正しく装着されていない。
・サーボモーターにハーネスのコネクタが正しく装着されていない。(第5号の作業)
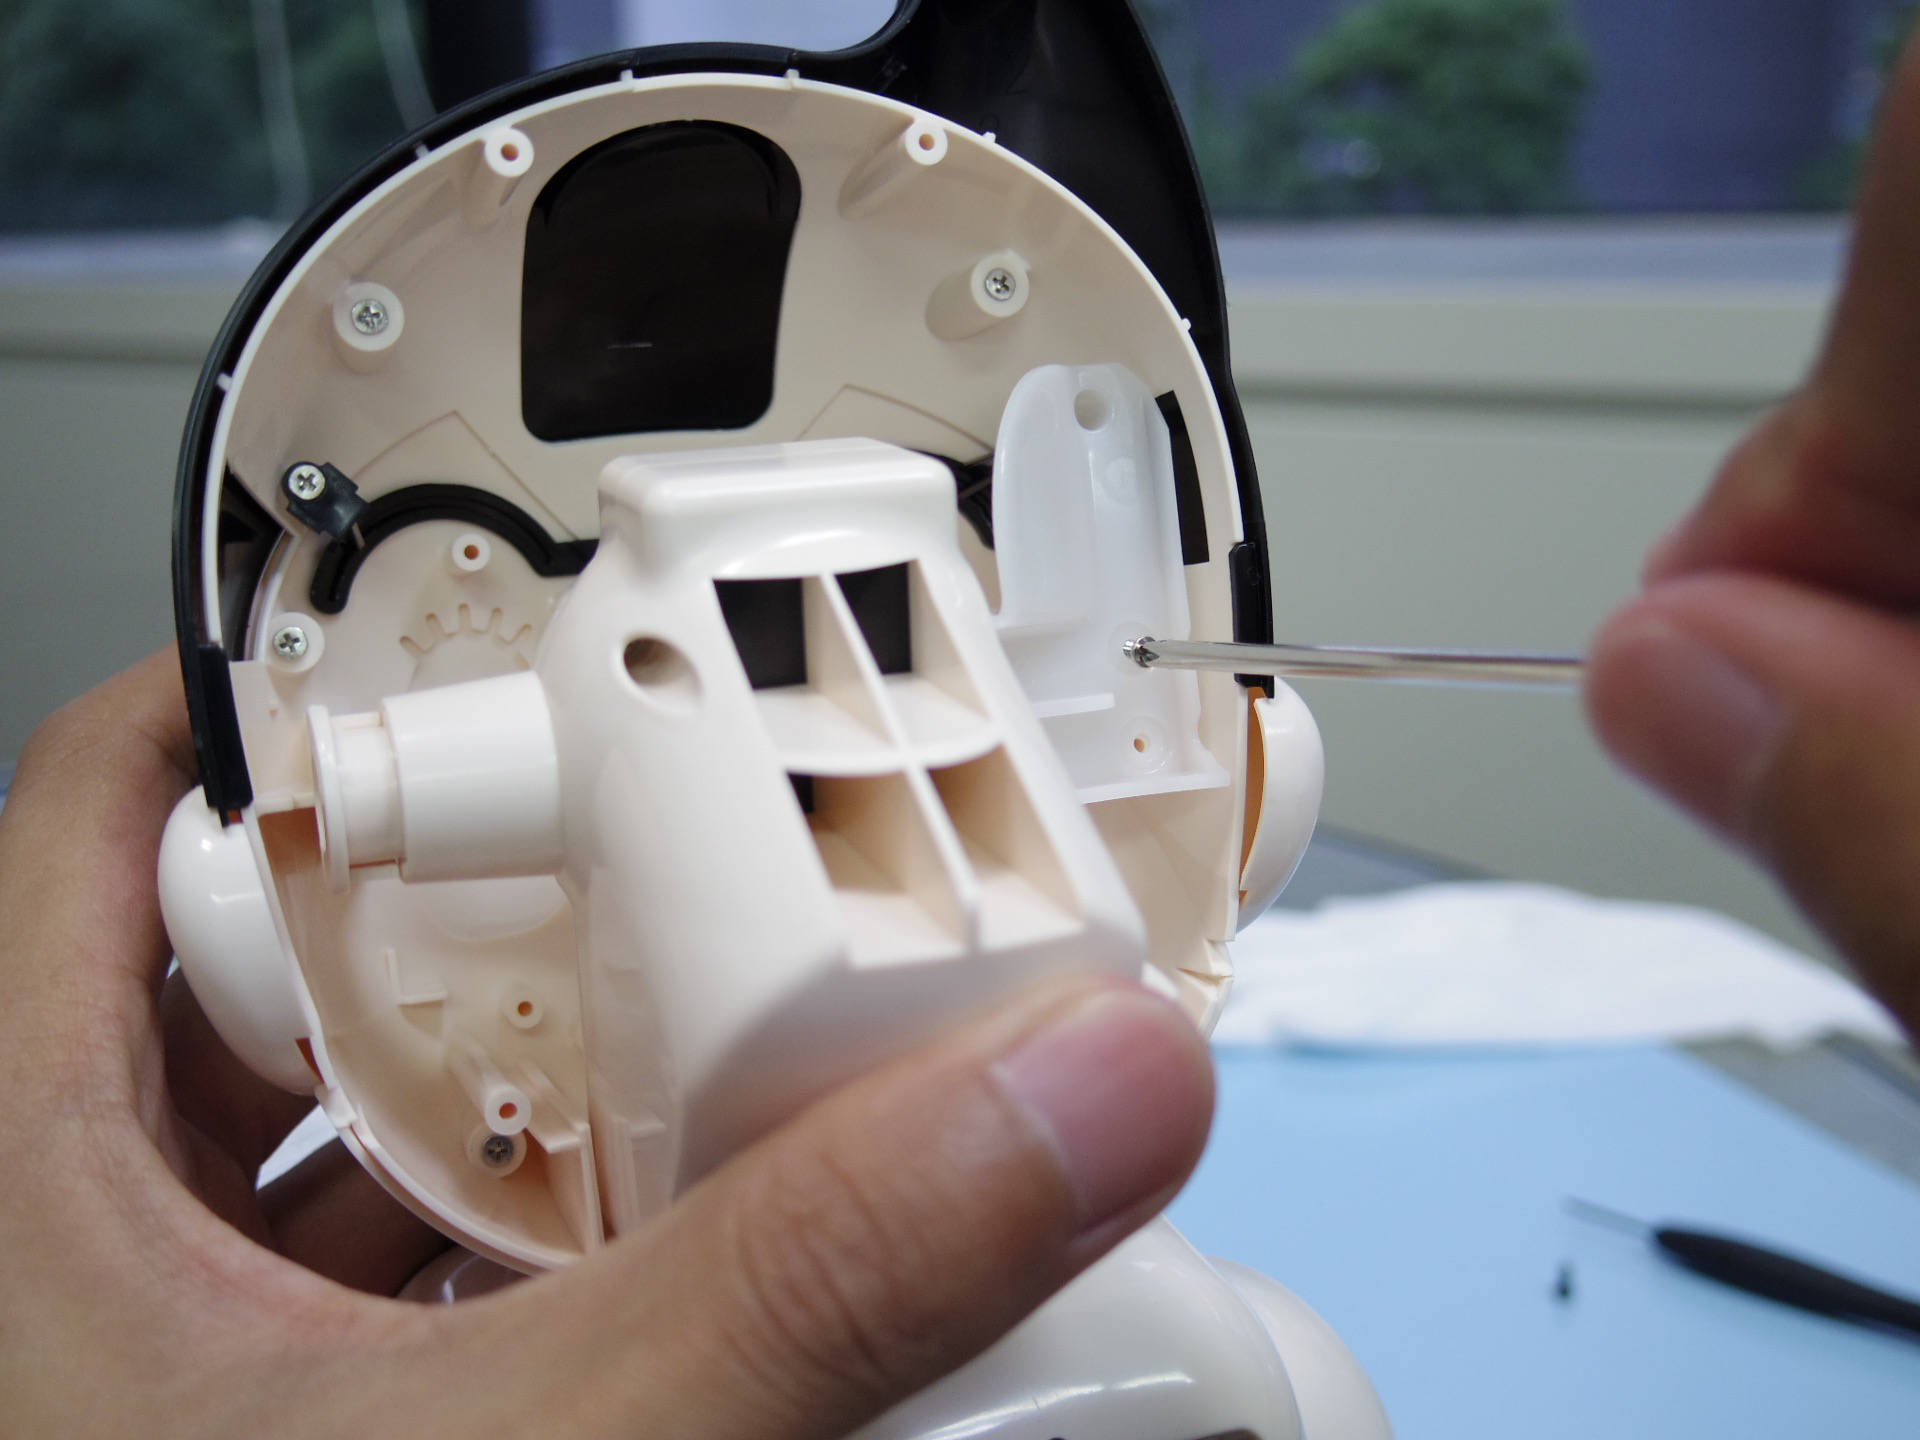
というわけで一旦分解して。。
最小限の構成でテストしてみます。
やっぱり動かない。
サーボモーターとハーネスをつけ直してみます。
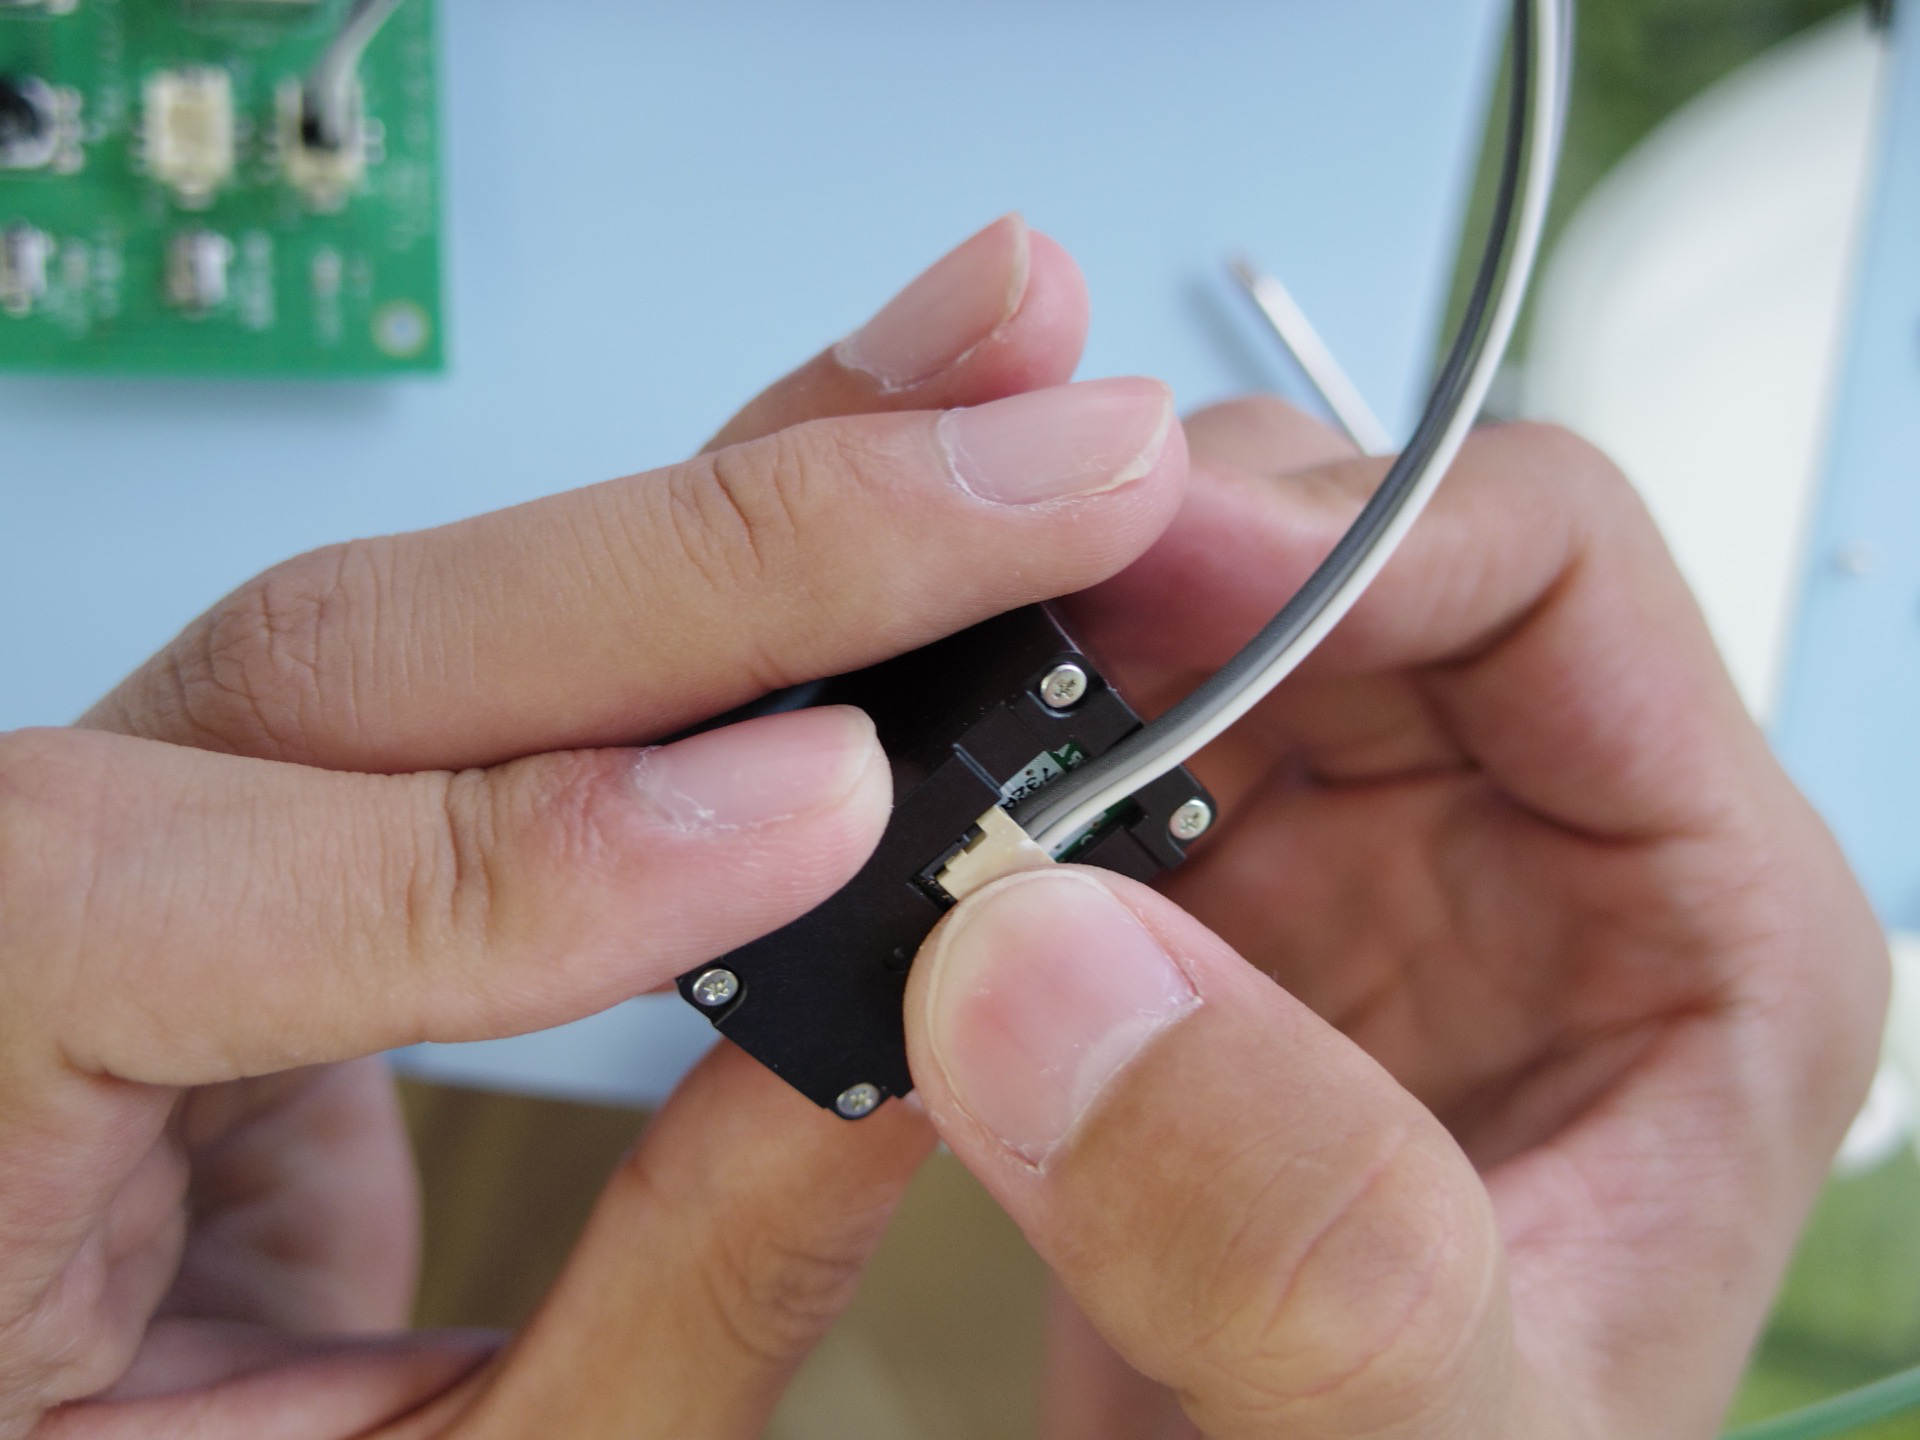
前回つけた時よりしっくりはまった気がする!
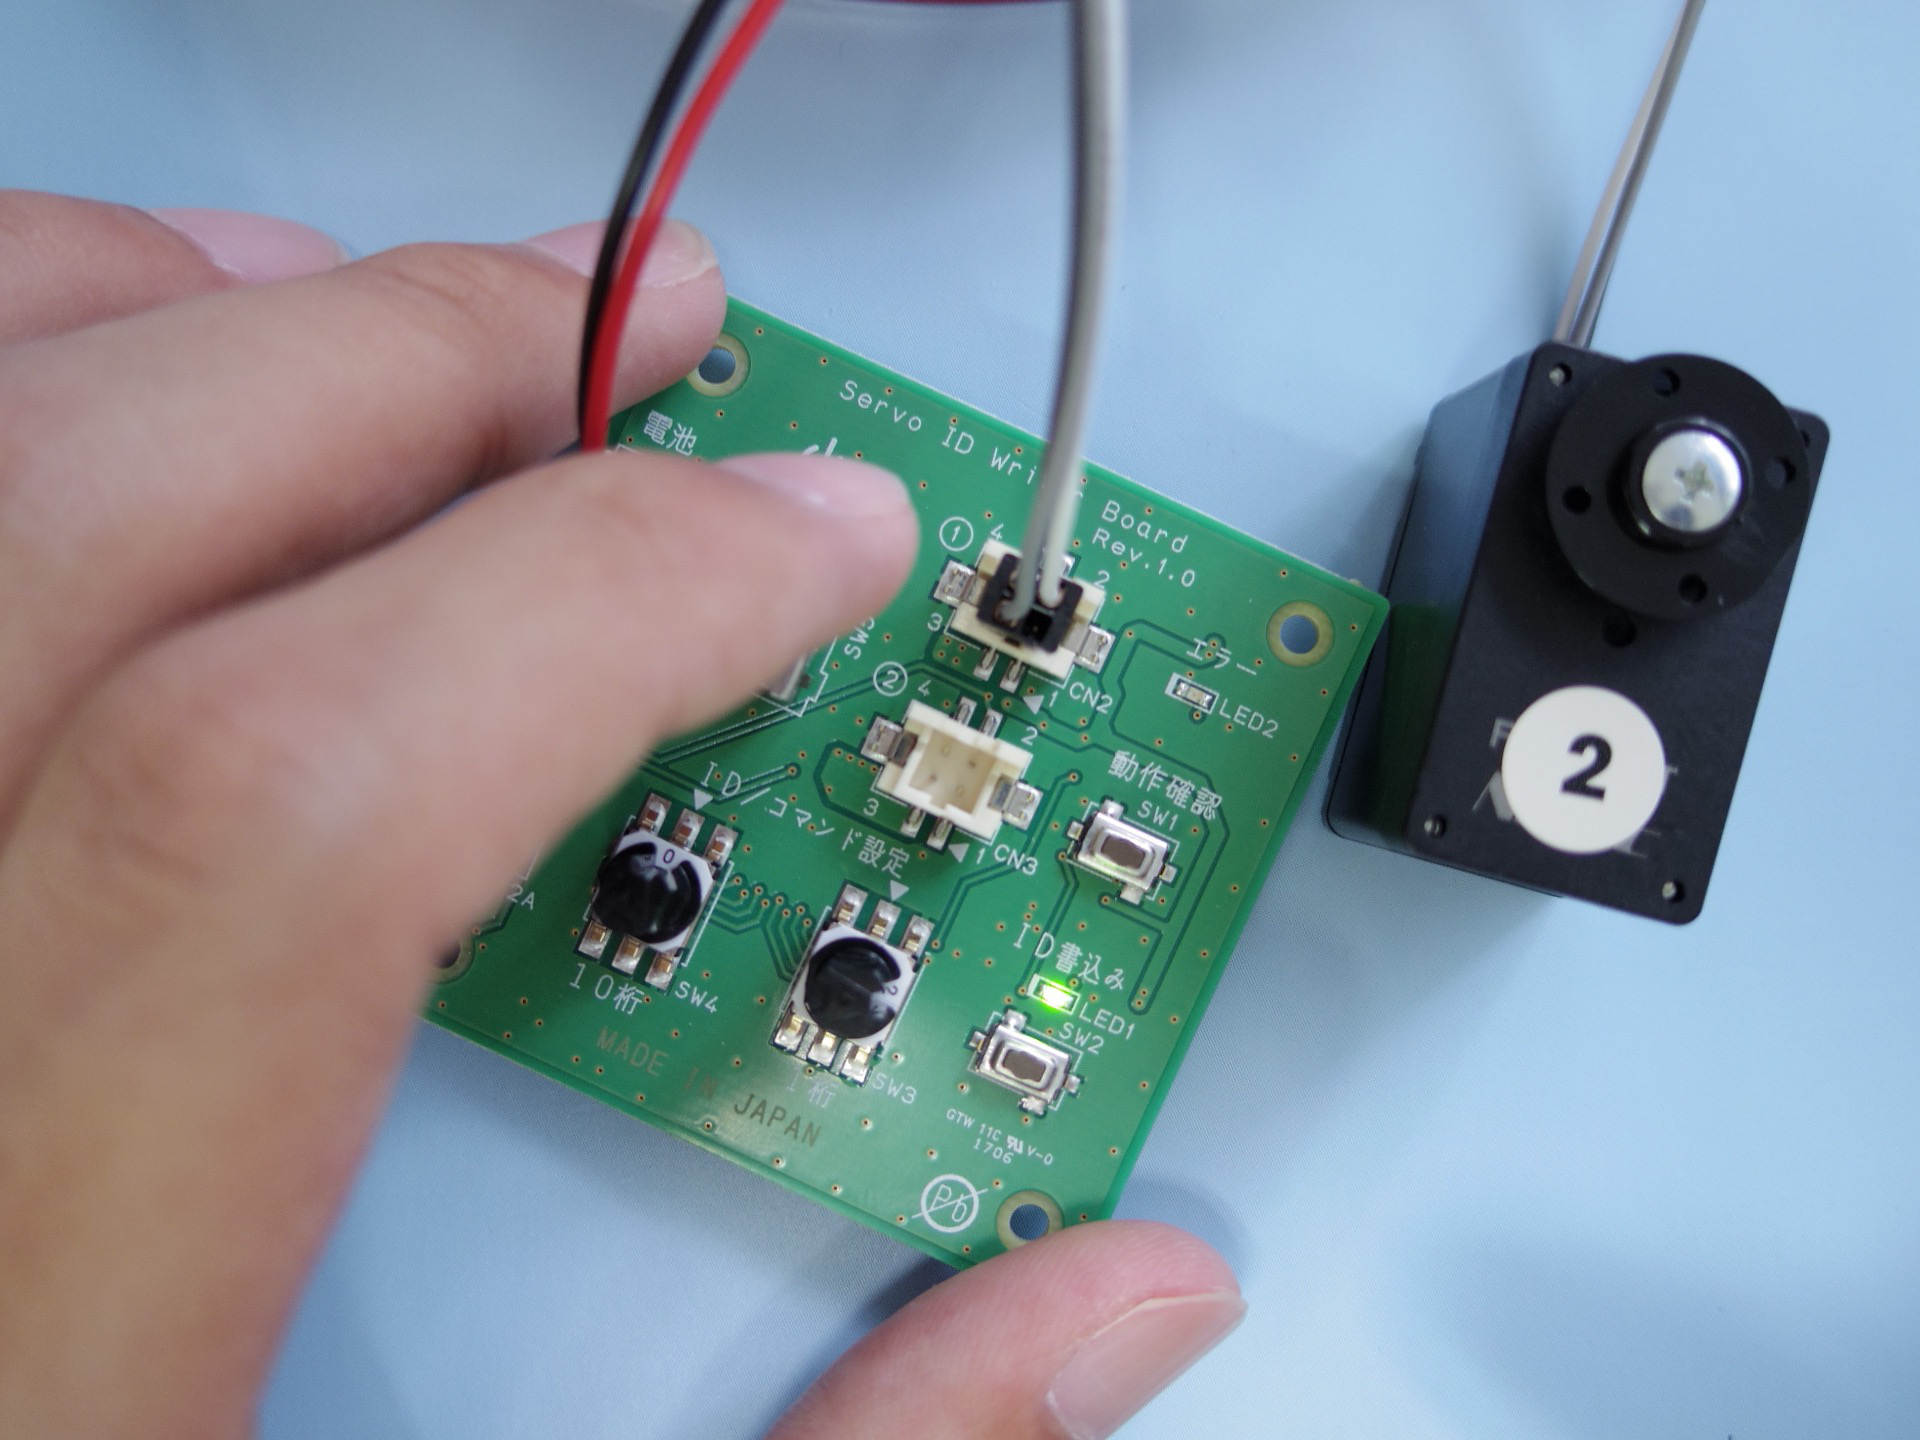
書き込みに成功!!よかった!
胴体を組み立て直して。。
頭部を組み立てる
チェックスタンド完成!!
まとめ
IDが書き込めない時は基板やモーターの故障も疑い不安になりましたが
無事チェックスタンドが完成して一安心しました。
動いた時の感動はなかなかのものです。
ちなみにこのチェックスタンドを使って
全てのモーターにIDを書き込んでいくみたいです。

想像以上に作業に時間がかかって
日が暮れてしまいました。